🚀 Elevate Your Projects with Carbon Fiber Magic!
This Carbon Fiber Sheet & Epoxy Resin Kit includes a 36" x 6" 2x2 twill carbon fiber fabric and 8oz of waterproof epoxy resin, designed for high-strength, lightweight construction and durable repairs. Perfect for DIY enthusiasts and professionals alike, this kit ensures easy installation and reliable performance.
R**A
An easy and affordable way to repair carbon fiber bikes
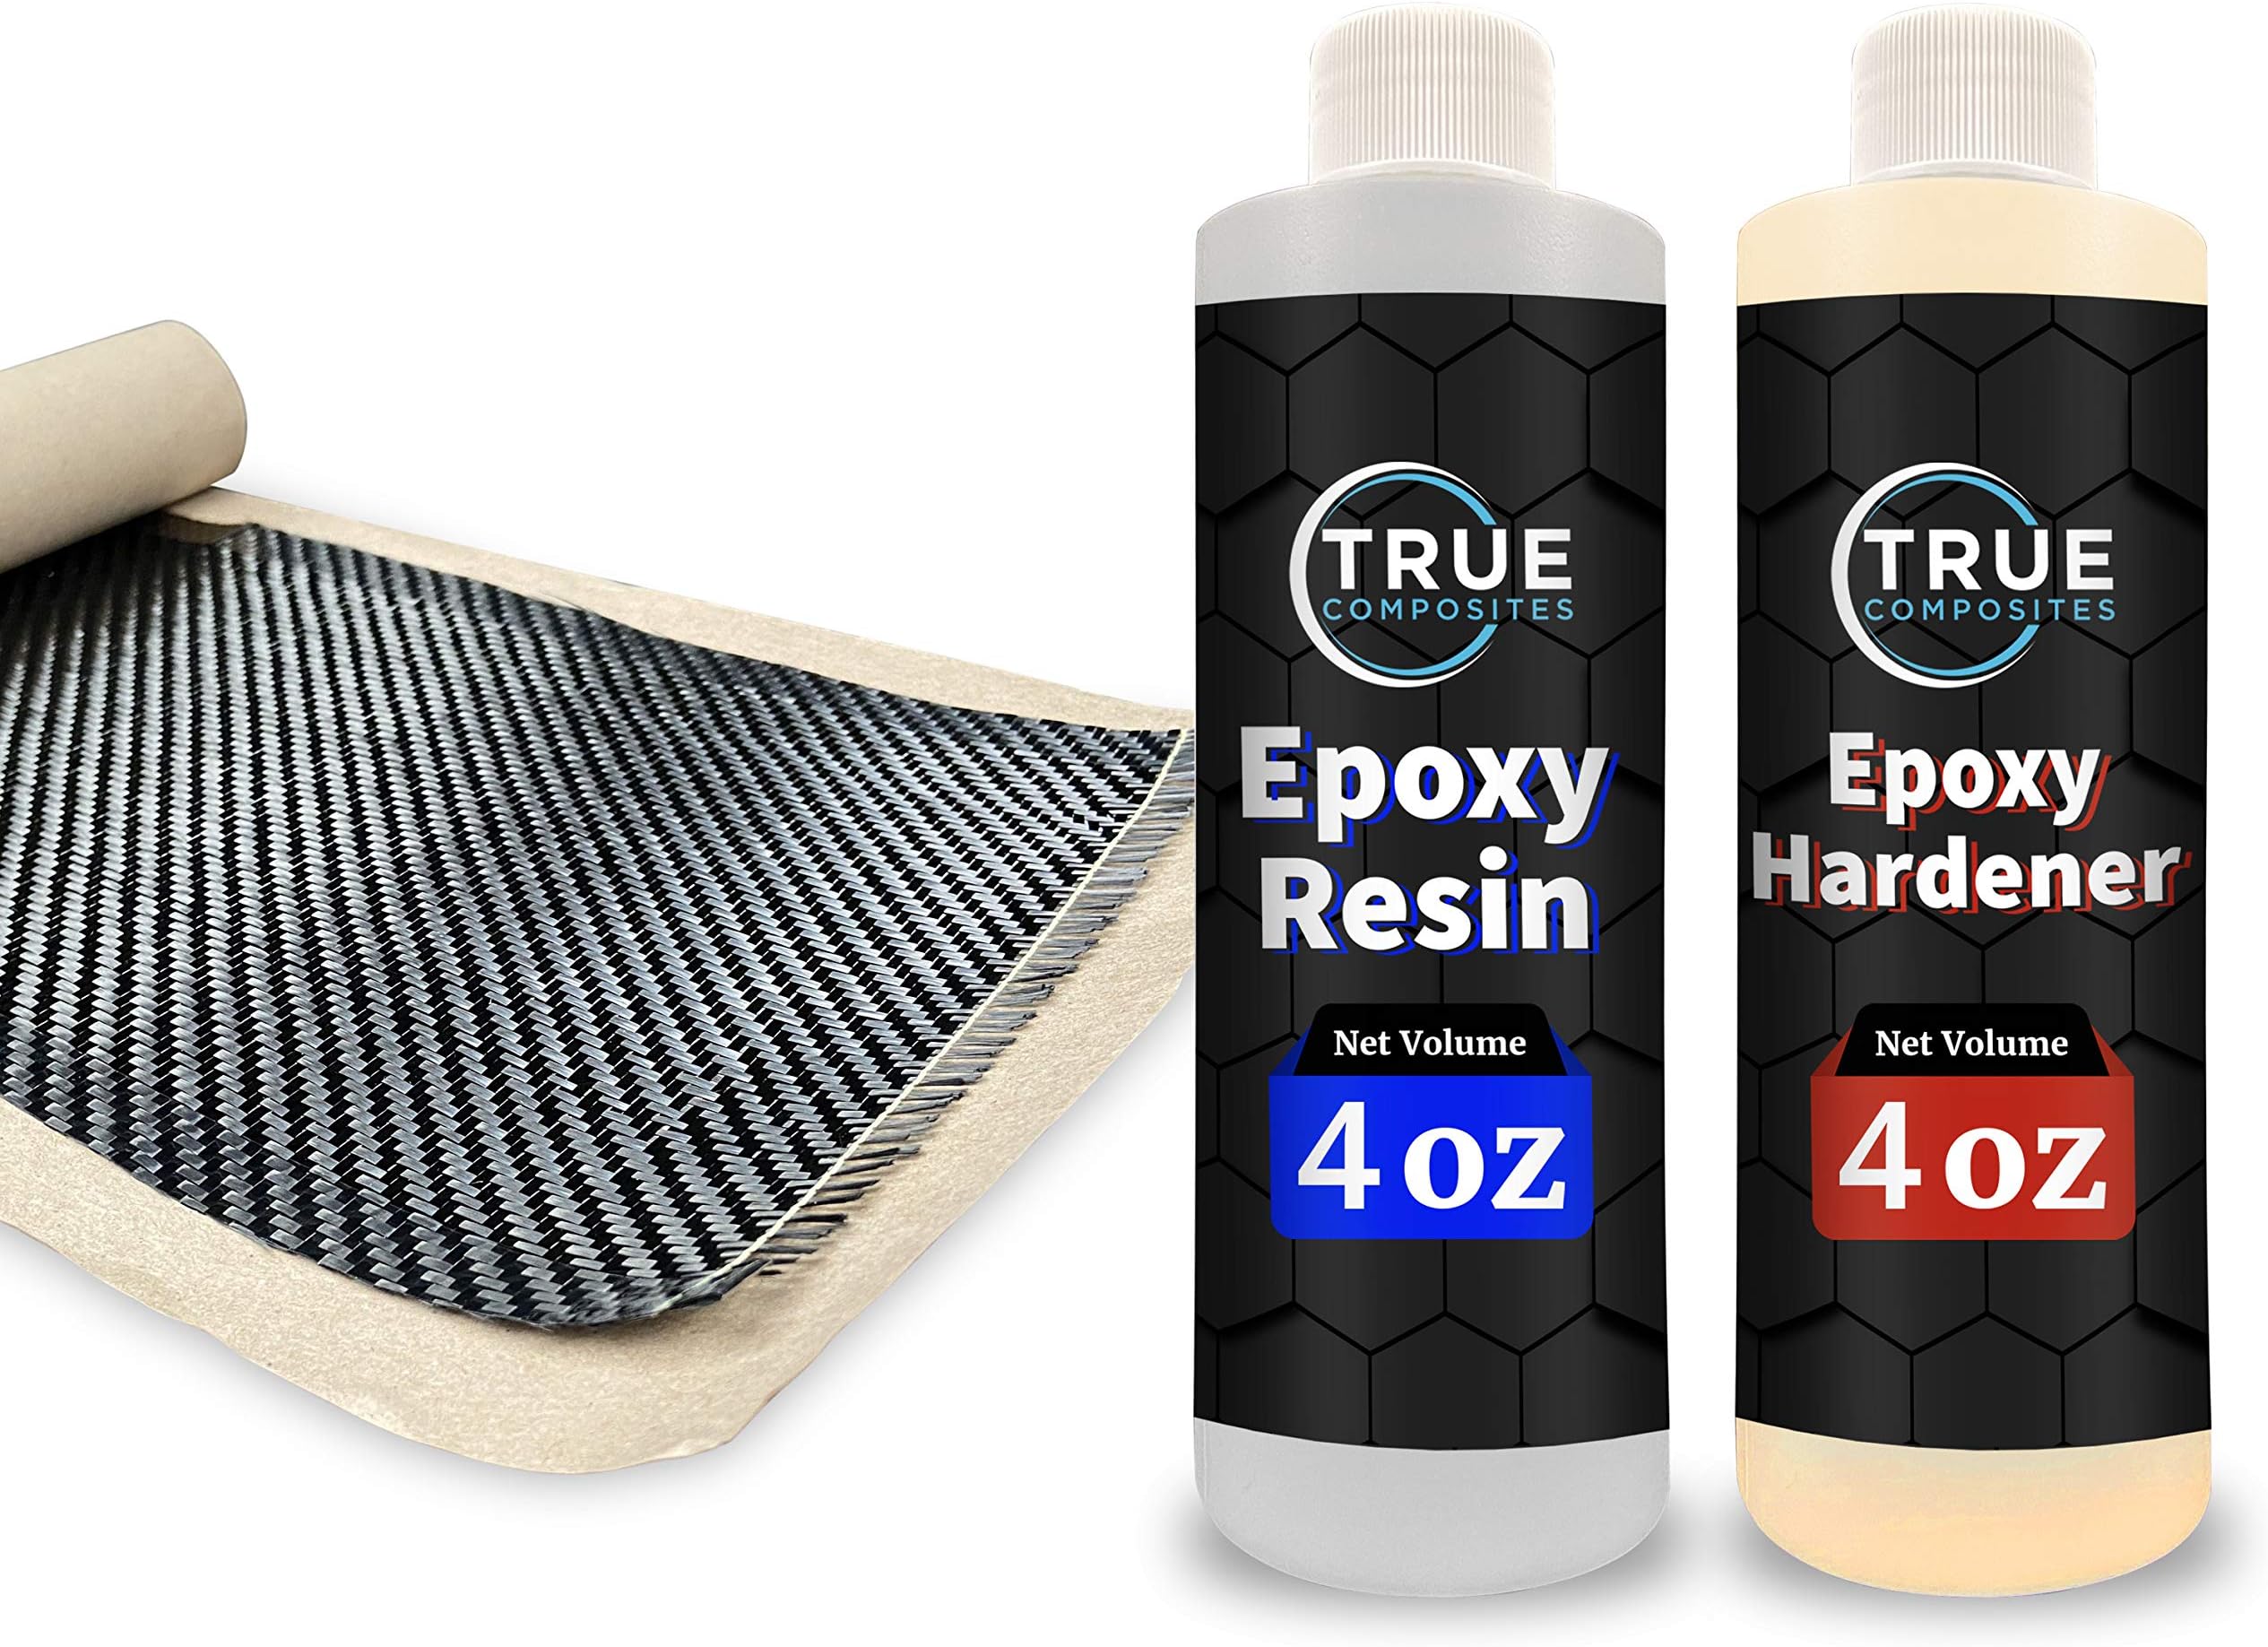
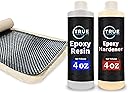
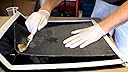
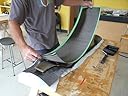
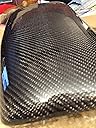
This is my first attempt to work with carbon fiber. I broke my bike frame (I fell of a trainer... Long story) so my frame was cracked (sounds like when you are bending wood). After some research, I found that my frame was repairable, but it was expensive ($500 to $800 quotes). After daydreaming with a new bike, I felt like I should give it a try and repair the frame. I love my bike (Fuji SST 1.3) so, I set aside time and begin to sand the area, to discover there was a hole in the frame (see picture), and a crack around the entire tube. Did some research on how to repair the frame, got me some sanding papers (get the 3m 80 if you want to speed up the process) and begin my journey. Word of advice, get some single blade or an Xacto blade-like, scissors are a bad idea as this carbon sheet its very flimsy. I mixed the hardener and resin equally or 1 to 1 (It was a guesstimate). With a 1.5 brush, I start applying the epoxy and 10 minutes later I glue the carbon sheet (keep mixing the expoxy or it will bee to hard), gave it a second top coat and with a plastic bag, I squeeze it all the air and tape the bag very tightly and leave it 24 hours (air-conditioned indoor). Next morning, I unwrapped the repair (see picture of a very corrugated repair) and with an 80 grain, started sanding all that. Then with a 240 started smooth things out until I got rid of the rough edges and it was smooth. Finished up with an 800 (or could be 600) and gave it a light epoxy coat with a 1.5 brush (do not reuse the brush) and there you have it. With less than $50 I repaired a frame that looks good and will serve me well for years to come.
A**D
I fixed my own MTB frame!
I used this kit to fix a hole in the bottom of my MTB frame. I landed on a piece of rebar and it went through the downtube guard and impacted into the frame hard enough to give it a spider web shaped crack about an inch in diameter. I sanded it down so the cracked area was gone. Then I cut a few layers of carbon to fill the hole and epoxied them in place. After I adding a bit more epoxy I sanded it smooth and almost perfectly matched the previous shape of the tube. The employees at the bike shop said this was the thickest and strongest part of the frame so a repair should work well. Each carbon frame repair needs to be evaluated on its own, your results may vary...
R**G
remove the yellow string
If you are new to working with carbon fiber, here are a few things I’ve learned! This was my first time so I’m sure these are obvious to people who have worked with this material before.First the instruction don’t say it, but remove the yellow string. When you apply the epoxy you want to feather the fiber out as much as possible. Keeping the string on will create weird edges. Apply with a paints brush on small areas at a time, pressing firmly down to make sure the fiber is against the actual surface and not hovering in epoxy.I would try to buy some type of clear film so that you can smooth the surface down while it’s curing. I didn’t and just have a lot of sanding to do, but if you used like cling wrap with painters tape I think you could get a better result! Mark of your area, with the tape, apply the carbon and epoxy, then clickers film over that and smoothhhhh out.It feels strong on my surfboard! We will see!
C**M
Good DIY Repair Materials
I used these materials to repair the seat stay on my wife's Trek. The package contains enough carbon fiber for a very large number of small repairs like this plus some 2 part epoxy, probably enough for 4-5 such repairs. I used a two stage process, applying the 1st layer, letting it dry overnight, lightly sanding the first layer, then applying the 2nd layer. A critical success factor is using heat-shrink release tape to compress each layer. This is a "must do" part of the process. Lay up the wet material and immediately wrap the tape tightly around the repair and shrink the tape with a heat gun on low. (Wrap with the outer side of the tape on the repair, opposite of how you would usually use tape, because the PTFE side is "out".) This tightly compresses the material, aiding in mechanical adhesion and creating a relatively smooth surface that only requires light sanding. I found 100 yds of Hi-Shrink Release Coated tape for about $28 delivered. So now I have enough tape and carbon for about 75 more repairs :-)Remains to be seen how the repair will hold up over time and under stress, but for now everything looks great and seems to be strong.
T**E
Works well
I used this product to repair a cracked top tube on my carbon fiber bike. I found, and followed, some videos I found on YouTube on repairing a bike using carbon fiber. I would highly recommend buying some heat shrink wrap to use on the carbon mesh after you've applied it. If you've worked with fiberglass before you'll find that carbon fiber is nearly identical. I used small pieces and took my time in placement of them. I didn't wear gloves and didn't get any of the resin on my fingers. If you let the resin get sticky before you attempt to lay the fiber weave you'll find that it sticks quite well and stays where you put it (I laid down 3 pieces). After the carbon was laid in place and resin applied, I wrapped the area with plastic, then with duct tape, and, finally, heat shrink wrap. After heat shrinking with a heat gun, I let the material dry for around 30 hours. It set up perfectly and required minimal sanding. I was very pleased with the outcome!
B**H
Epoxy didn't set up as described in instructions. Remained sticky
Epoxy stayed runny and sticky for 8 hours and didn't set up totally even after 24 hrs. Repairing a $5000.00 front spoiler for an R8 Audi. Not enough product for a second coat of epoxy which it really needs before sanding to protect the matrix.
M**Y
great product ... easy to use and very durable
I have a giant escape composite left it locked on a fence and someone tried to steal it and damaged the frame by the seat post , cracked the frame so pad the seat post was leaning . I used the sheets and epoxy to repair the frame. I let it dry for a couple days then applied another layer. repeated the process about 4 or 5 times. this happened in 2021 and its 2023 now and the seat post is sitting sturdy in the frame like new. had to write a review excellent product for repairing carbon fiber frame
Trustpilot
3 days ago
1 week ago