🖤 Unleash the Power of Polycuramine!
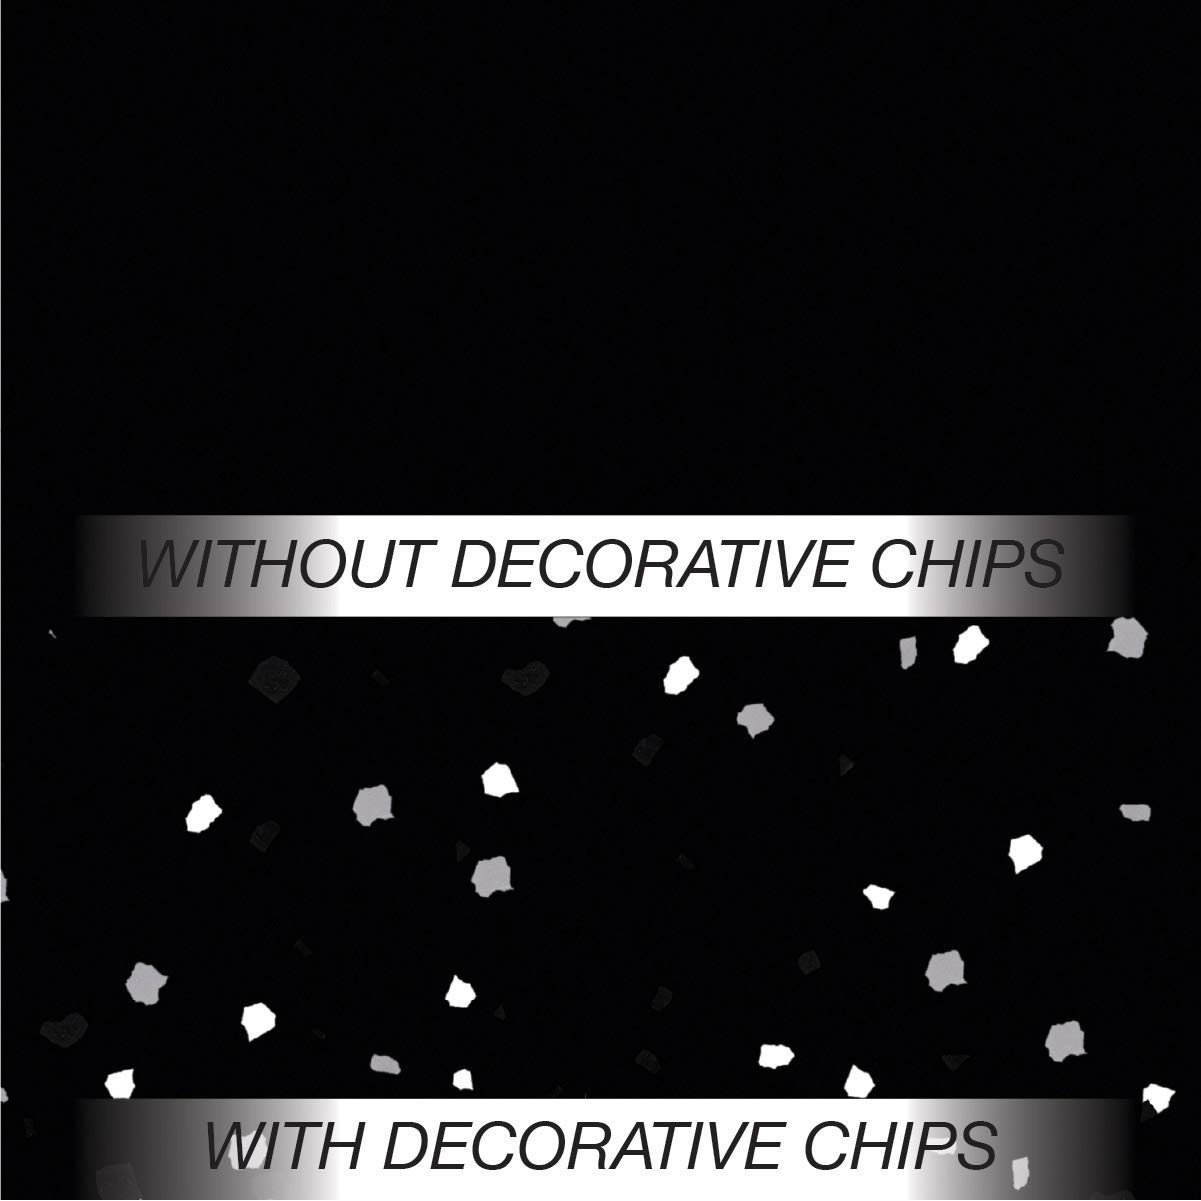
The Rust-Oleum 318697 RockSolid Polycuramine Garage Floor Coating is a high-performance, durable solution designed for various interior concrete surfaces. This 2.5 car kit features a self-leveling formula that is 20 times stronger than traditional epoxy, ensuring a long-lasting, high-gloss black finish that resists wear and tear. With a quick drying time and impressive coverage, it's the ideal choice for anyone looking to enhance their space with minimal downtime.
Item Volume | 152 Fluid Ounces |
Unit Count | 180 Fl Oz |
Size | 2.5 Car Kit |
Finish Types | Gloss |
Color | Black |
Is Waterproof | True |
Water Resistance Level | Waterproof |
P**Y
Overall this product works ok, except rollers do not last
The product looks great on my garage floor, and time will tell if it lasts as long as I expect. The weak part of this kit is the two smooth black application rollers. They look like thin rubber rollers and literally broke up half way through the application. Fortunately, I had a 10mm paint roller close at hand that worked perfectly to complete the job. For the high cost of this product, I suggest the manufacturer double the number of rollers for each kit.
ハ**ト
ピカピカツルツルまるでショールム
暑くなる前にと、今朝ガレージの塗装をしました。少し広いけど一台分のスペースだからと送って貰った2台のキットの内1パックを使うつもりでした。厚めに塗っていると足りないことに気づき、慌ててもう1つを開封。たっぷり余裕を持って塗った分、重厚な仕上がりです。光沢があり表面はツルツル。完全硬化を待って2日後に入庫予定ですが、ショウルームで愛車に出会って時の再現となりそうです。
D**E
PREP IS KEY!!
(3 month review) This kit is amazing!!!! Prep is absolutely key. Make sure your floor is CLEAN and has no preexisting oil which will make the product not adhere properly in certain areas. Power washed ALL of the old paint off my floor, and scuffed it with a wire brush. Then I used the rust oleum degreaser chemical, and scrubbed that in aggressively with a bristle broom over the entire floor. I must have missed a few spots, because there was some areas where the epoxy did not stick (see photo). This is okay though, because it adhered all around the missed area, and doesn’t leave any rough edges. So it won’t peel up regardless. 3 months later it still looks amazing, and I have not experienced any hot tire pickup either! The finish is very glossy, and can scratch pretty easily if you’re rolling thing around like a workbench or hydraulic lift, but otherwise I am SO happy with the results. I would absolutely buy more than you think you’ll need btw.
S**N
Get 2 car kit if over 210 square feet.
The pictures i attached are from the first of two single car garages i've done this fall, and the smaller of the two. It is 210 square feet. I've read the other reviews and figured i was well prepared for applying this product. I thoroughly cleaned the relatively clean concrete with degreaser, and then the etching acid provided. Ensure you do not add more water than the directions state. I made that mistake on the second garage. After cleaning, etching, and scraping any stuck-on spills like paint and other unidentifiable things, i let it dry for a few days. Working within the suggested temperatures, i mixed the product as directed, and started applying to the edges using some disposable brushes. It was easy to cut in and spread the product.When it came to rolling, i used the provided foam roller with no issue. Remembering the comments about product coverage, i ensured i did not lay it on too thick so as to not run out by the time i got to the other side. As a result, i realized as it cured, that i went too thin at first, and the porous concrete showed thru and seemed darker than the rest. I found myself with excess product on at the other end of the garage, making it a thicker coat at the garage opening.The second garage i did is 235 square feet. Taking the learnings from the first, i was more mindful of how far this stuff goes. I was able to apply a more even coat, but really wish i had more on this one. The two car kit would have been better. I had just enough to coat this one.Both of these locations are rentals, so we weren't looking for perfect. Other things about this product are already stated in the instructions. Such as, this product will not fill concrete cracks, stick to or cover oily substances. So fill cracks and scrub the floor. It does stick very well to porous concrete. I had a small silver dollar sized spill on the concrete driveway, and when i scraped it off, it brought the concrete with it. So i know it sticks.If using this stuff at my primary residence, i'd definitely know how many square feet it was, and i'd also opt for getting the clear topcoat. Otherwise, you are walkiing on the chips.
K**E
Great product! But not a weekend project if you want it done right!
I have a 2 Car Garage that is 20X20. Purchased the Tan 2.5 car kit and the Clear Top Coat kit. I had no issue with covering my 2 car garage with this amount of product. I am very happy with the finished project. But requires pre-planning and time to do it right.Advise:Labor: use 2 people to apply the paint and chips and the clear coat. You have about 45 minutes of pot life to get the paint down then it will start getting hard and difficult to apply. 2 people working together will reduce the (Monkey on your back) stress out of the application. On the paint one person painted and one person did the chips. On the Clear Coat we put the clear coat in a paint tray, put in middle of us and used 2 brushes to apply the product. We split the garage and each took half and worked back to front on the garage.Rollers: I did not use the cheap foam rollers that are provided in the kit. Like other reviews they do not last. I learned this 20 years ago on the original job. I purchased 6 Purdy 3/8 nap rollers and used 4 of them to apply both the Poly and the Clear Coat with it. Do not go cheap on your rollers…. On the Tan paint I used one roller per bag of paint. Also buy some small 3 inch disposable brushes to use to cut in the edges. Then throw them away at the end of the job. Also buy some Nitrile disposable gloves to use during the application.Chips: I did not use the provided chips as there is only enough for a light dusting of chips. I would recommend buying flakes online by the pound for the project. I purchased pre-mixed “Dark Earth Tone” chips and did a Medium to Heavy flake. Sure I had flakes left over but was not worried about being short on chips.Prep: The prep is the key to this project and takes time! I had put the RockSolid Epoxy Garage covering on the garage floor 20 years ago. I wanted to remove that covering before this project. I rented a floor polisher from Home Depot and a Diamabrush Coating removal tool. (Polisher was $46 for 24 hours and $75 for Diamabrush removal tool) Note: There are 2 Diamabrush available. One for prep and one for removal and prep. I spent 10 hours grinding the floor to get original paint off of it.I then used a 4 ½ inch double row diamond cup grinding wheel (Amazon $17) with angle grinder for edges and low spots. NOTE: this product WILL NOT fill in cracks!! If you don’t want cracks to show then you have to spend the time to fix them before applying the product. I had a number of small cracks and also wanted to fill in the expansion joints. I simply purchased Premixed Concrete Patch from Home Depot. Fill crack with putty knife, roughly smooth it out, let dry and then grind with angle grinder smooth. I even filled in the expansion joints this way. Last step was to pressure wash out the garage before painting. (PS. I painted the garage before the applying the garage floor paint)Application: The trick to this project is putting the right amount of paint down for coverage. You have to put down a small ribbon of paint on the floor. I put the ribbon of paint down in a straight line. When you start rolling first pull the paint towards you then start your rolling. I had a small amount of paint left over and on the Top Coat we ran out exactly at the end of the application. I did not use the Anti-skid in the Top Coat. So I cannot offer any advice on that. We started the job early in the morning. My garage faces East so the sun was going to be an issue so I had to drape a tarp over the front of the garage to keep the sun off. We put the paint down in the morning and we finished at 9:00. We then applied the top coat on the floor that afternoon around 6:30.Remember to do something to the garage door (lock it and put painter’s blue tape across the door) to keep anyone from walking out the garage door while the paint is curing. Also remember to put something on the garage door track to keep it elevated off the floor while it is curing. I pulled the emergency release on my garage door before we started the job and put a clamp on the track so I could pull the door down manually and have it rest on the clamp.Is the paint coverage perfect? No. If you look you can see some light color changes in the paint. But it is a garage after all and I am happy with the result. If you want a consistent coverage with no color changes then I would recommend putting down 2 coats of the paint. Paint one coverage with no chips then paint again with chips. But that will obviously increase your project cost.Added some pictures, hope this review helps.
Trustpilot
1 week ago
1 week ago