Description
♻️ Turn waste into gold all year round!
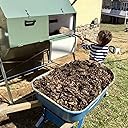
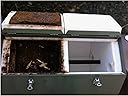
- CONTINUOUS COMPOSTING FLOW - Dual chambers let you fill one while the other matures—no downtime, just fresh soil.
- EFFORTLESS ROTATION DESIGN - Smooth tumbler action means quick mixing without breaking a sweat.
- MASSIVE 70 GALLON CAPACITY - Handles up to 8 gallons of waste weekly—perfect for eco-conscious managers with big gardens.
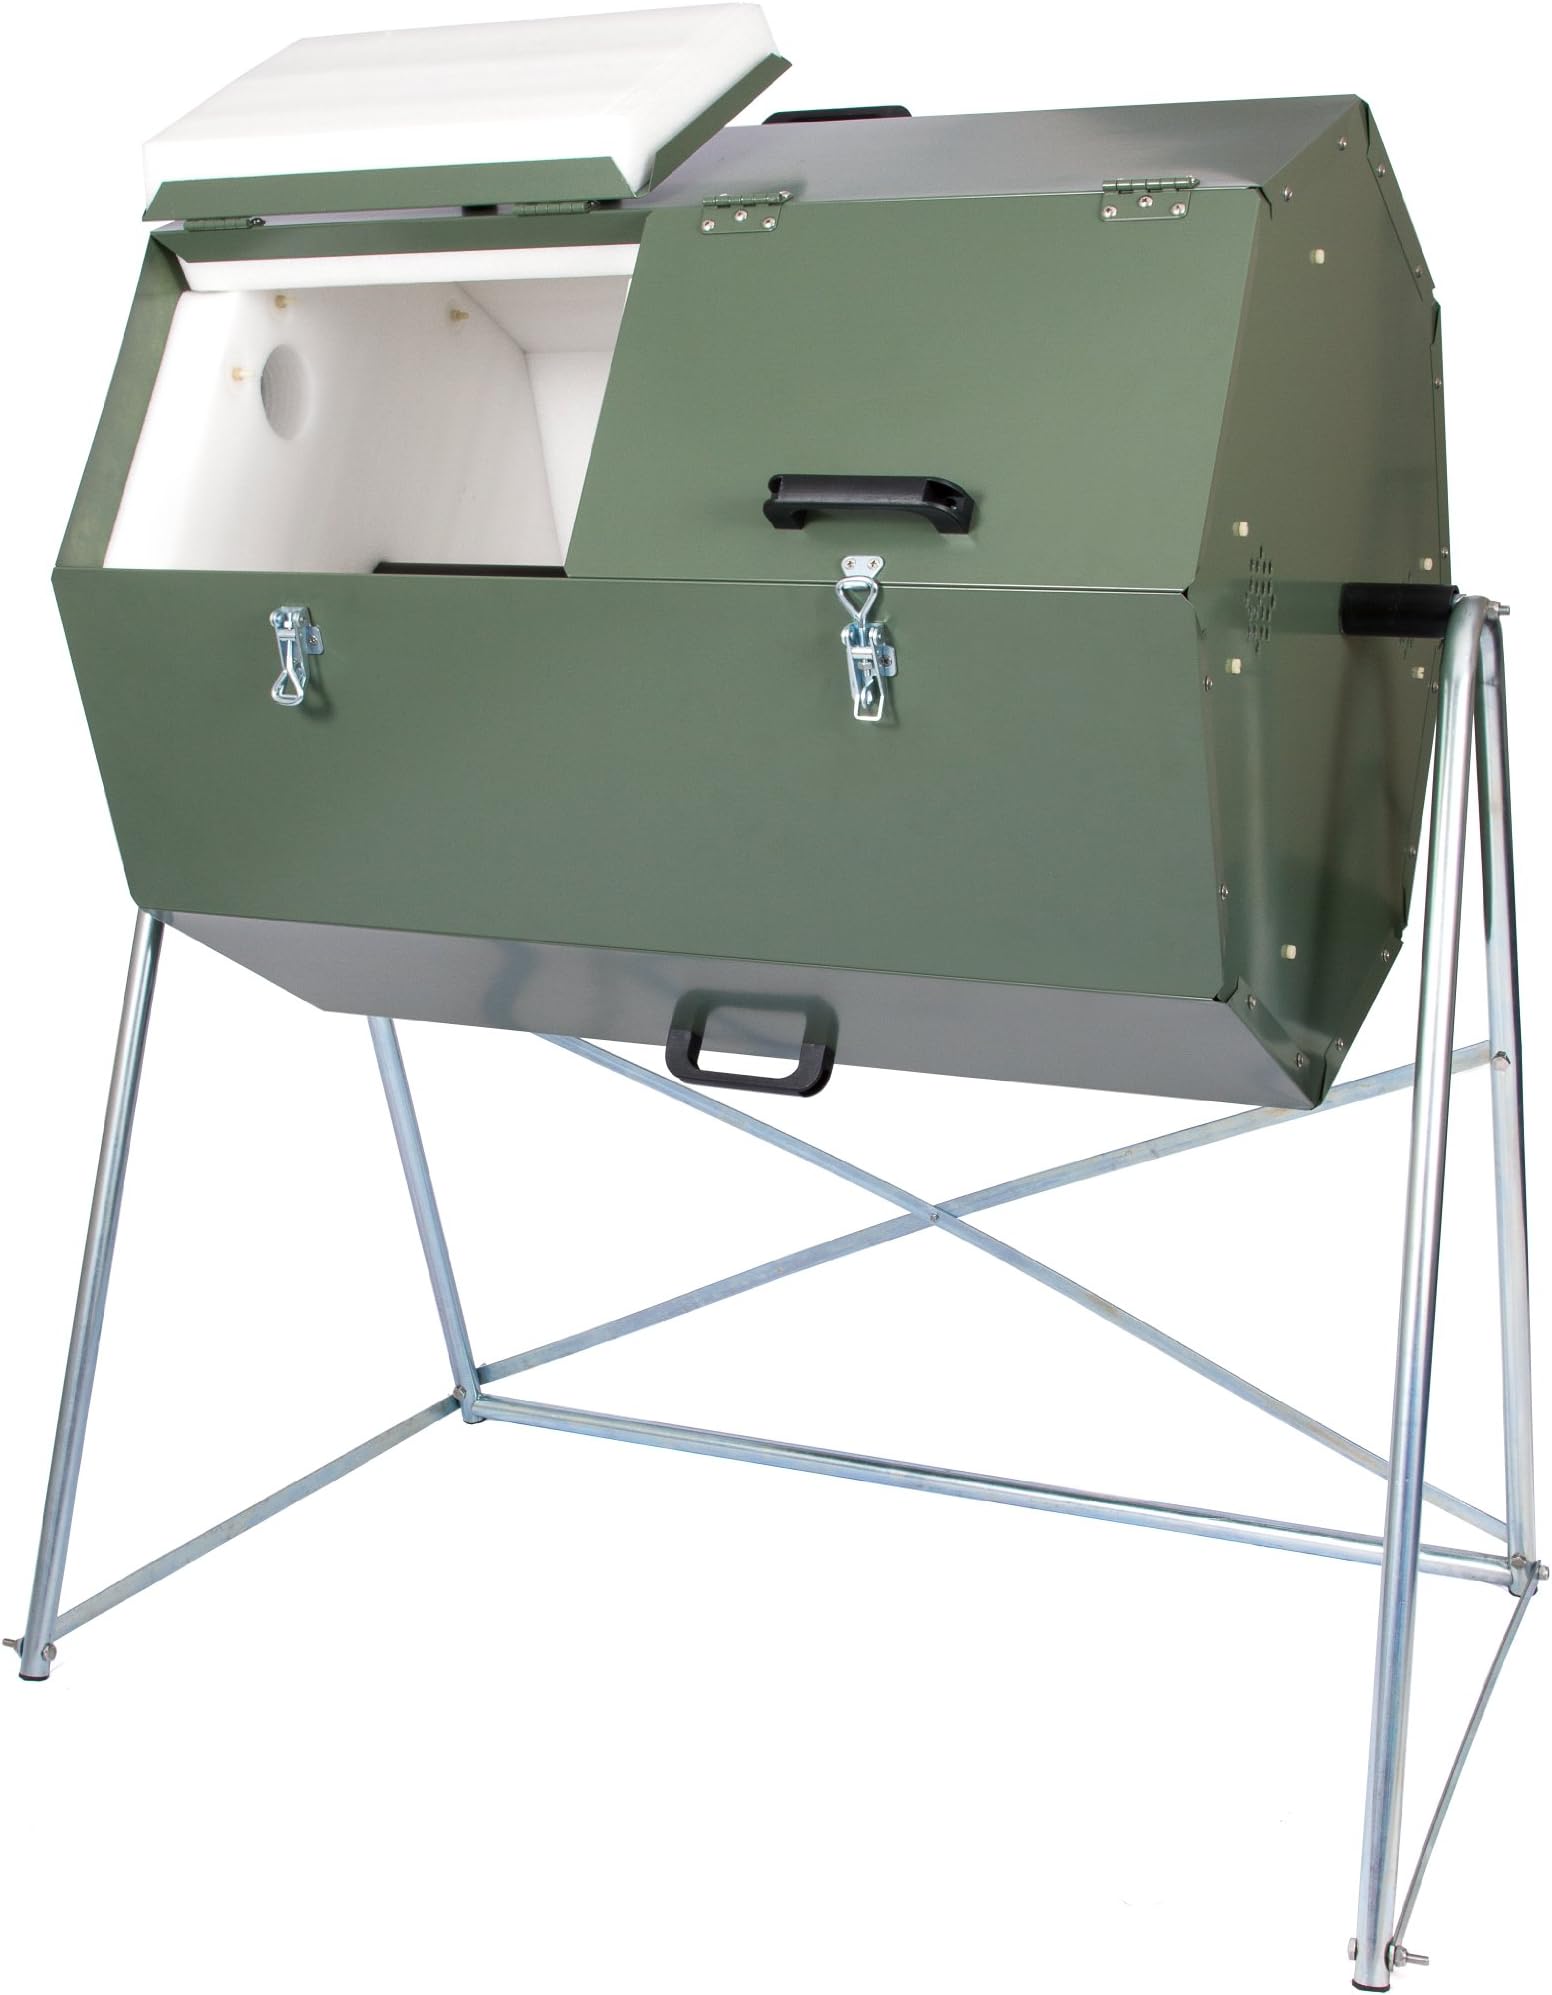
- WINTER PROOF HEAT RETENTION - Food-grade insulation keeps temps soaring above 160°F, even in freezing weather.
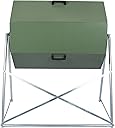
- DURABLE STYLISH GALVANIZED STEEL - Built to last and designed to elevate your backyard aesthetic.
The Jora Composter JK 270 is a robust, dual-chamber outdoor tumbler with a 70-gallon capacity, crafted from galvanized steel and insulated with food-grade material to maintain composting temperatures above 160°F—even in harsh winters. Its side vents optimize airflow, accelerating decomposition, while the ergonomic design ensures effortless rotation. Ideal for professionals seeking an efficient, eco-friendly solution that blends durability with style.