


🪟 Transform your windows, transform your space — stay cool, stylish, and energy-smart!
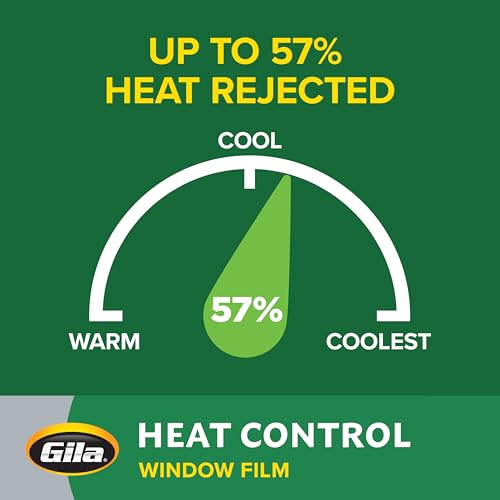
Gila LEG361 Heat Control Window Film is a premium light gray polyester film designed to reduce solar heat by up to 57%, cut glare by 53%, and block 99% of UV rays. Measuring 36 inches by 15 feet, it offers nearly invisible tinting for natural light preservation and easy DIY installation with durable adhesive. Ideal for enhancing home comfort, protecting interiors from fading, and lowering cooling costs without professional help.


| ASIN | B001735SW4 |
| Brand | Gila |
| Colour | Gray |
| Country of Origin | USA |
| Generic Name | Window Film |
| Global Trade Identification Number | 00045162487023 |
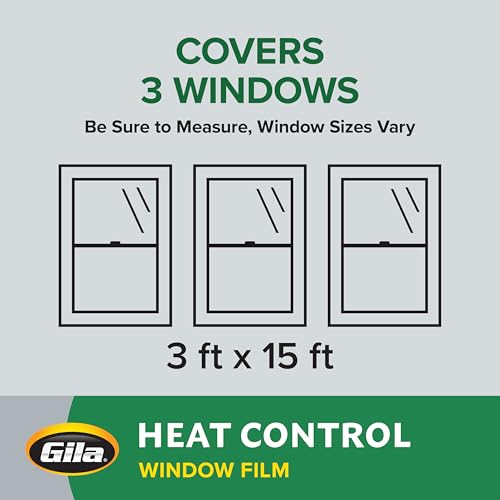
| Included Components | Installation Instructions, Window Film Roll (3ft x 15ft) |
| Installation Type | Static Cling |
| Item Weight | 454 g |
| Item model number | 50146267 |
| Manufacturer | Gila |
| Material | Polyester |
| Net Quantity | 45.0 Square Feet |
| Number of Items | 1 |
| Product Dimensions | 91.4L x 457W Centimeters |
| Size | 36" x 15' |
| UPC | 773490328717 767615656489 735090096342 045162487023 797978261143 732454499283 |
| Ultraviolet Light Protection | True |
A**H
Not possible to apply without bubbles It is not as described at all its silver
J**N
First and foremost I have to share that this film came well packaged in a box that included a spool that allowed me to dispense it in an easy manner which really helped facilitate cutting and sizing. The film width was more than enough for the windows and sliding glass doors in our home so rather than worrying about cutting the film as the manufacturer suggested with the 1 inch border added to the window measurements I left the excess on the sides and cut to the window measurements minus 1/16 on the top and bottom so that once applied the film only needed to be cut at the sides. In order to achieve a professional result a professional set up is always beneficial. I took the time to try and set up the most convenient and efficient way to handle, cut and prepare the film prior to applying it to my windows. I used a folding table about 75 inches long that we had as my cutting and spraying station. I used a permanent marker to lay out cutting templates for each window so that I would be able to line up one of the factory edges (one of the sides) along one of the lines I drew which allowed me to make proper measurements, cut with less waste and have a sure fit each time. I measured all my windows in advance and worked on all the ones with the same measurements before moving on to windows with different dimensions. This allowed me to cut enough sheets of film in succession and lay them aside. Once cut I could then clean off the window, return to the table and prep the film with the spray. When spraying the film before application I would peel the backing from the film, use blue painter's tape to hold down that corner and peel away the backing. I then would use more painters tape to secure the film and sprayed it with the solution as I removed the rest of the backing. Since I allowed for extra space on the sides of the film I used one of these sides as the anchor point with the painter's tape so that if any residue from the tape did get onto the film it wouldn't matter since this section would be cut off once the film was applied to the window. The kit that Gila offers is essential and includes a bottle of spray, a squeegee to help apply the film and remove excess solution and air bubbles, a cutting blade and lint free cloth. The kit is worth buying for the solution and the squeegee alone. I did not use the cutting blade nor the cloth and chose instead to use my own washable lint free cloths and standard razor blades for cutting. The blade that is included is fixed at an awkward angle which tends to tear the film. I tested the blade on a small window in our bathroom and it did indeed tear the film. Regular razor blades, changed often is best. I chose to change the blades for cutting the film to size about every 10 cuts and when trimming the film once it was applied to the windows every 2 windows as this seemed to be the best to prevent snags. For some reason the film and solution dull razor blades pretty rapidly so its best to change out your blade regularly rather than waste both the film and your time having a dull blade tear your film. I've read on here that some people make their own solution with soap and water but honestly I didn't bother with that and won't if I have to do this again. Considering the time invested in this type of project I felt it a reasonable cost to simply buy the solution. I laid down enough film to cover 16 standard windows top and bottom panes, a small bathroom window, 2 sets of sliding doors, 2 decorative front door windows and even doubled the film in our master bedroom which is exposed to sunlight the majority of the day. With this much square footage laid down I only used 1 and a half bottles of the Gila solution and I used the solution as instructed by Gila which means using it to clean the windows as well as an application solution for on the film and windows. I purchased the solution at our local Home Depot and the kit and an extra bottle only cost use $18. My suggestions for a stress free application process would be to take the time to set up an area that can be used to cut and prep the film. If you can set up a table and make some guide lines for cutting and sizing it can make all the difference in my opinion - when you go somewhere to have this type of film cut its done with by machine or on a table that has all the measurements marked out and straight edges to ensure proper sizing so it pays to emulate this type of set up. Make sure you have plenty of blades and solution and use painter's tape to hold down your film while cutting to dimension and while removing the backing. Don't be excessive with the solution and only use enough to wet the entire surface of the film. If your film is literally running and dripping with solution use less next time. Go slow when removing the backing of the film to avoid creasing it which leaves some nasty marks you won't notice until you have taken the time to put it on your window. The squeegee in the kit is an essential tool and while I have several around the house the Gila one really is designed for this particular job and works very well. I know that some people complain that this type of film is hard to apply or tears easily and opt instead for cling films. This film when handled properly does not tear and over the course of a week I took to casually apply this film to all our windows/doors I did not have a single tear. WIth patience and care you really can accomplish a professional result. The great thing about this film is that you have 24-36 hours to make adjustments or remove the film from the window. Gila states in 24 hours the film can still be handled and I have made small revisions to the film such as removing excess solution or air bubbles I missed during the first application within the first 36 hours. So in the end patience and preparation can save you a considerable amount of money if you choose to apply this film yourself. I called a local company for a quote and the cost to have our home professionally handled was upwards of $600 and we would be on a wait list that was nearly 3 weeks long. And as far as the film helping with reduction of energy costs and reducing heat transfer into the home, we are happy with the results. Our master bath and kitchen literally felt like the heat was on when you walked past them when it was sunny out. The heat transfer in those two rooms was terrible initially but after applying the film we noticed a significant difference in these two rooms. Now they both feel as comfortable as the rest of the house.
W**R
Reduce el calor muy bien. Nada exagerado pues aun habria que aislar paredes pero cumple con su funcion muy bien, entra buena cantidad de luz. Es algo complicado de instalar la primera ventana pero despues es mas sencillo. Si recomiendo usar algo especializado para remover el agua como las tarjetas que venden ya qe si no se saca bien se empieza a despegar de las orillas . Aunque solo es cuestion de estarlo monitoreando y corrigiendo. En mi caso puse cinta adhesiva en los lugares que me estaban dando problemas y al secarse las retire. Se ve muy bien por fuera. La solucion que use fue con jabon para bebe y agua (ellos mismos lo recomiendan en algunos de sus videos, cuando no se compra su solución).
R**A
Certainly helped to reduce heat, a two person job.
A**R
Blue hue (left) is application, Warm (right side) is without I really like how it seems to just soften/change the warm hue from the inside. Just put them so can't speak to effectiveness yet but I am really enjoying the natural light being maintained I think the price on amazon may currently be cheaper than home depot Husband said they were finicky to put up, but I think they are worth it. There's an application kit you can buy to help...worth it esp if doing multiple windows Only lost a star for the finicky factor but it's probably just a learning curve tbh. Excited for the cooler home !
Trustpilot
2 weeks ago
2 weeks ago