⚡ Upgrade your ride with precision power and pro-grade performance!
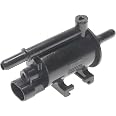
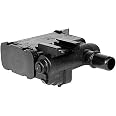
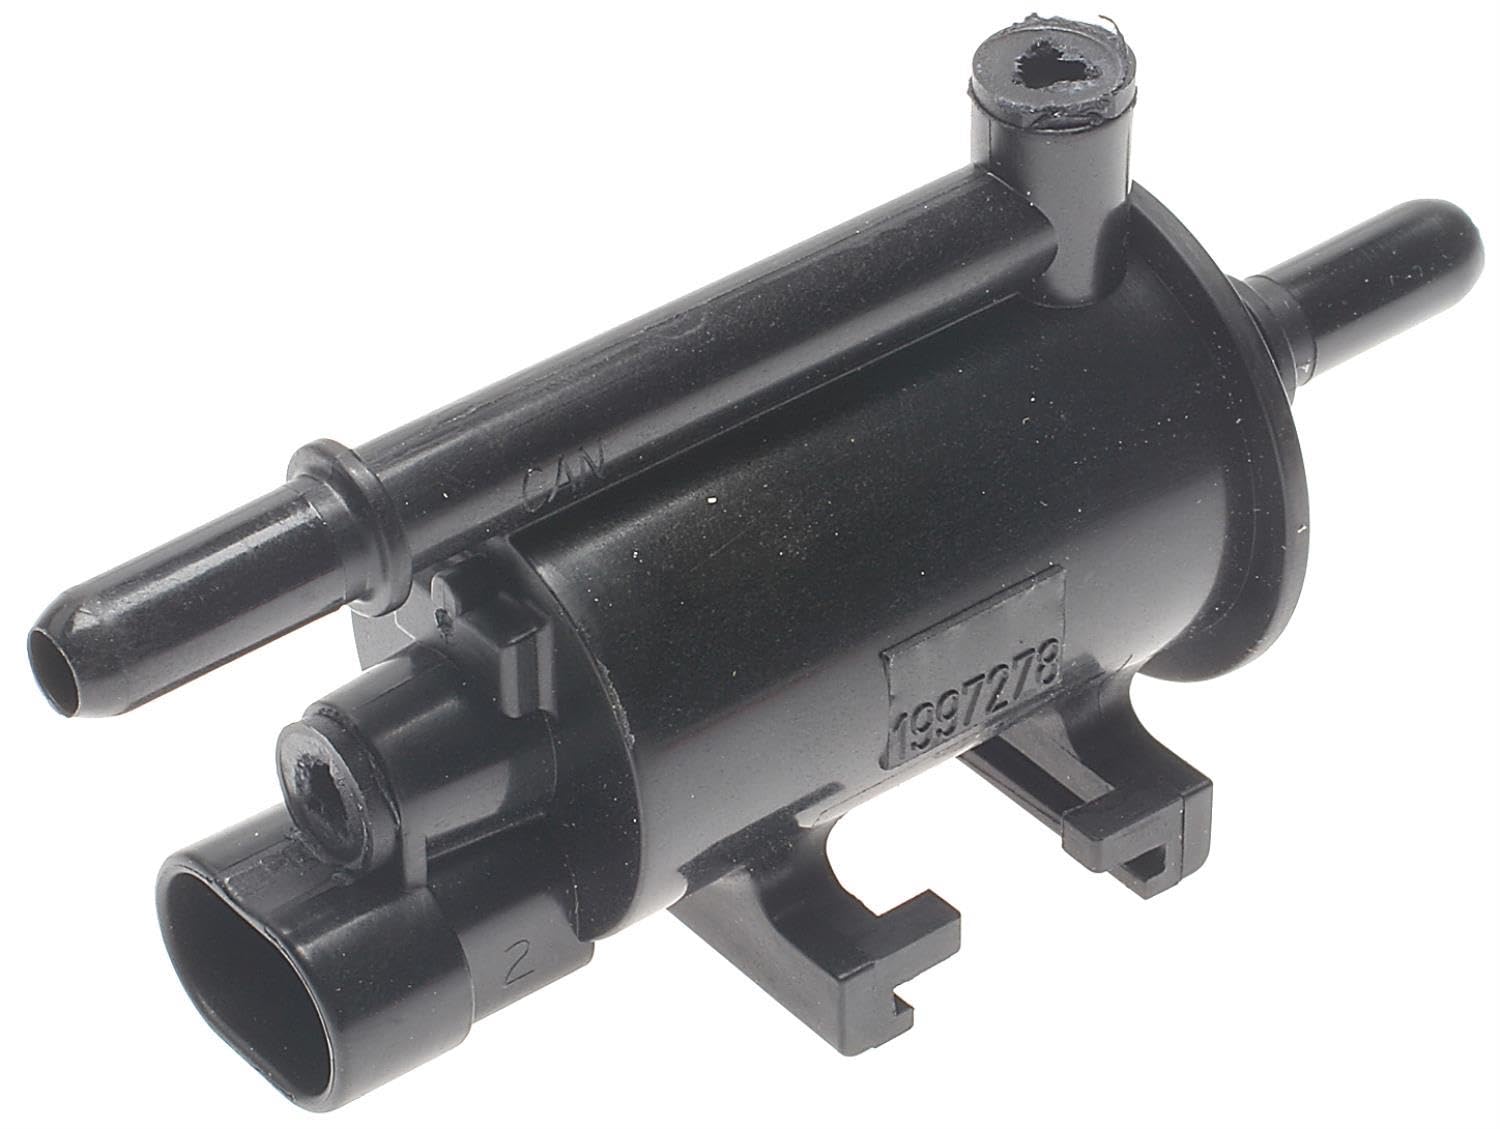
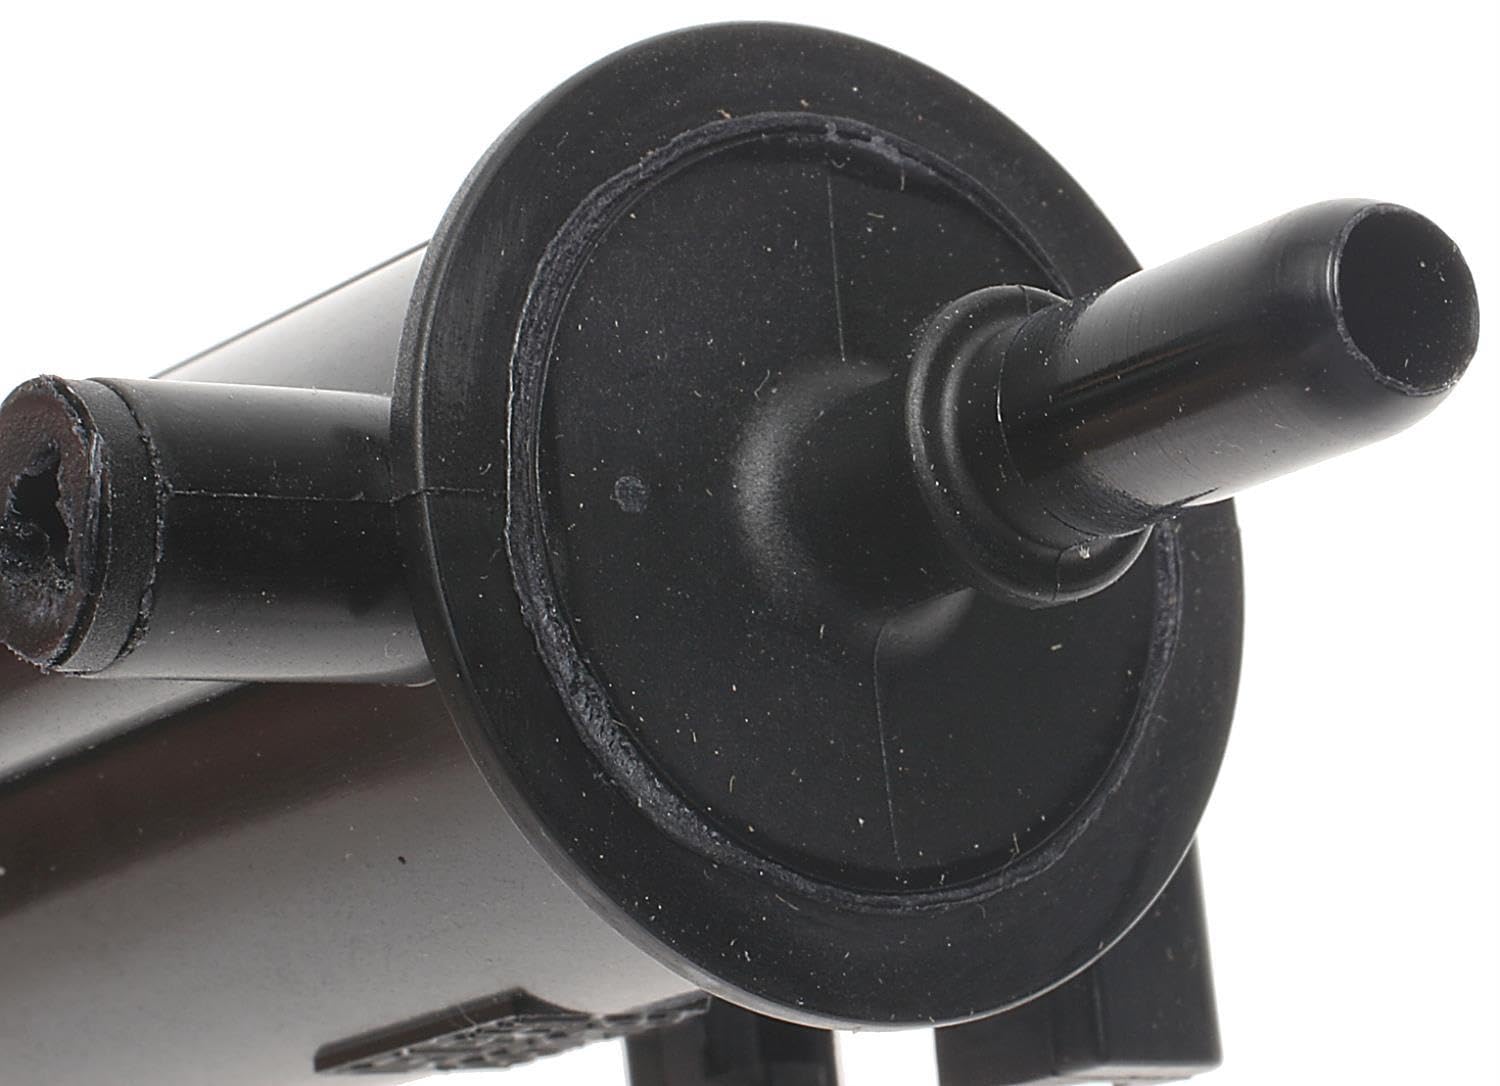
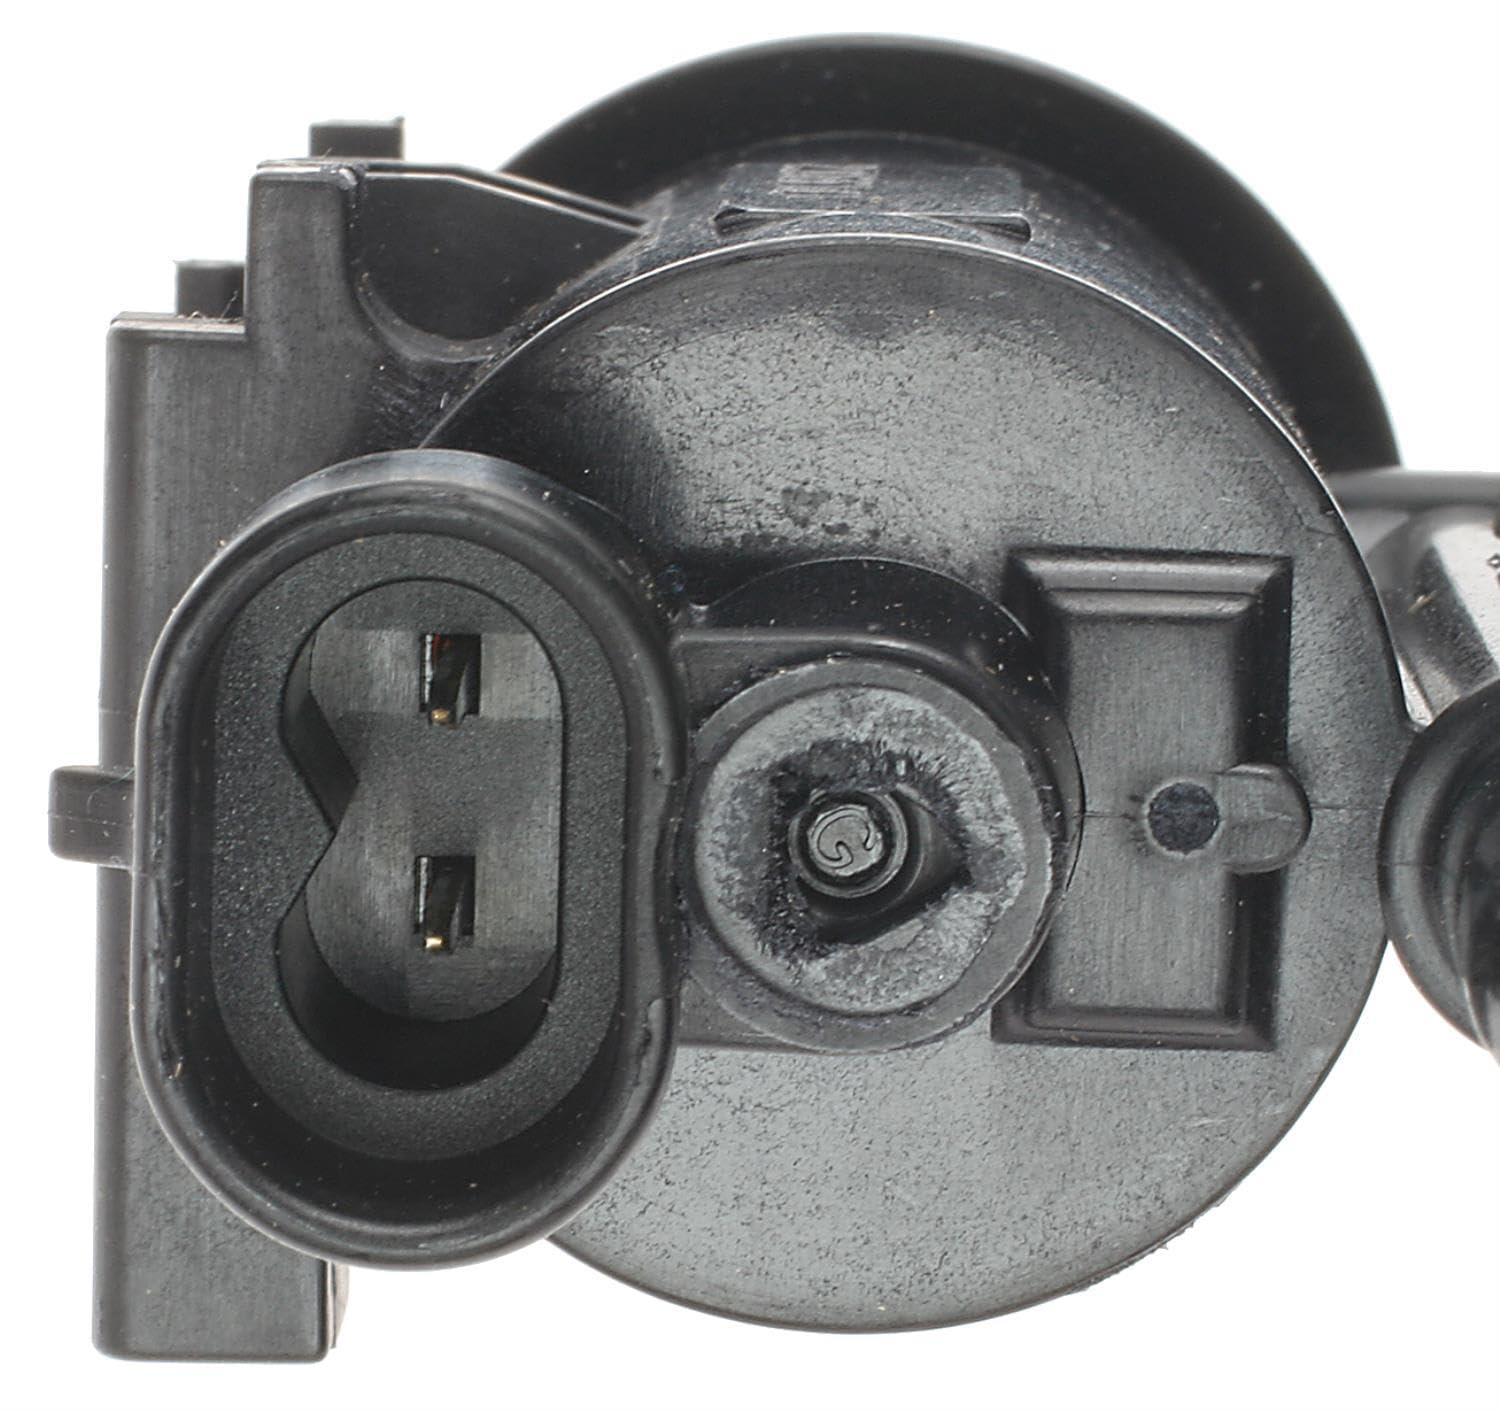
The ACDelco Professional 214-2246 Vapor Canister Purge Valve is a premium aftermarket replacement designed to meet or exceed OEM standards. It ensures precise fit, form, and function to optimize your vehicle’s fuel vapor management system, enhancing engine efficiency and reliability. Lightweight and durable, this valve is a trusted choice for professional-grade vehicle maintenance.


| Manufacturer | ACDelco |
| Brand | ACDelco |
| Model | Vapor Canister Purge Valve |
| Product Dimensions | 9.65 x 8.38 x 8.38 cm; 149.69 g |
| Item model number | 214-2246 |
| Exterior | Painted |
| Manufacturer Part Number | 214-2246 |
| OEM Part Number | 19239625 |
| Item Weight | 150 g |
F**Z
The exact right OEM EVAP purge valve for my 2003 Saab 9-3 Arc with the 2.0T engine
I've always regarded AC-Delco as a high quality brand and this EVAP purge valve was no exception. I previously purchased the Blue Driver OBDII code reader on Amazon. When my Check Engine Light came on recently the code reader identified the problem as the EVAP system having incorrect air flow. A little homework and then I bought this EVAP purge valve, installed it, cleared the Check Engine Light with Blue Driver and it has not come back on in the past three weeks of driving. Good stuff.
S**S
Excellent
Replaced my old charcoal canister. I could see the difference immediately. Engine runs smoother and more even. Install is easy. Took not even 10 min. Engine light went away. Excellent
B**
Works well
It works and fits well in my vehicle, thanks
N**O
Chevy cavalier
Engine light gone🥰
M**E
Fixed my P0442 code
It actually fixed my problem!!! I had a P0442 code on my truck forever, after trying a ton of things, this, paired with the vent valve fixed my problem. But I'm 99% sure it was this that was wrong. I noticed my truck would idle super rough which was weird because I changed my plugs, coils, air filter, fuel filter, synthetic oil, new gas caps, everything. But jeez it runs so damn smooth now, I almost went to change my motor mounts because of how it was. I also noticed that sometimes my engine would get flooded with fuel and wouldn't start. Which makes sense because this guy sends fuel vapors into the engine to burn off, and it was sending in too many which caused it not to start. Holy crap, I'm so happy it fixed my problem.Now, the installation. What you'll need is a 10mm socket and a 1/4 or 3/8 ratchet, I'd recommend the 1/4. And a flashlight. It's just 3 connections and a bolt. In the pic, I drew a red arrow which is the front of the vehicle, this is located on the side of the engine on the driver's side, under the intake, bolted on the engine with a 10mm bolt. First thing, take off the battery cable, you seriously do NOT want sparks near this guy. You'll see A, B, and C those are the 3 connections for this. A connection is a clip in which theres a tiny tab that you need to rotate 180° and then you can pull out the connection. Really simple. B is a pigtail connector, just gently lift the tab and wiggle out, easy. C connection was a bit confusing, I had to squeeze the sides of it and then pull it off. Think of the connector like a clock with 4 sides, 12, 3, 6 and 9. You have to squeeze 3 and 9 or 12 and 6 then pull it off. And then you have the 10mm bolt, I'd use a 1/4 ratchet without an extension, it's easier to maneuver. I tackled this from above. I was literally sitting on top of my engine close to the battery and then just stuck my arm around and took it out.All in all, its actually not hard at all, you can do it :) just be patient and get comfortable. This was done on a 2004 GMC Envoy 4.2l I6
Trustpilot
1 day ago
3 weeks ago