🌿 Elevate Your Aquarium Game with Effortless CO2 Mastery
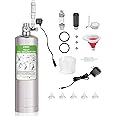
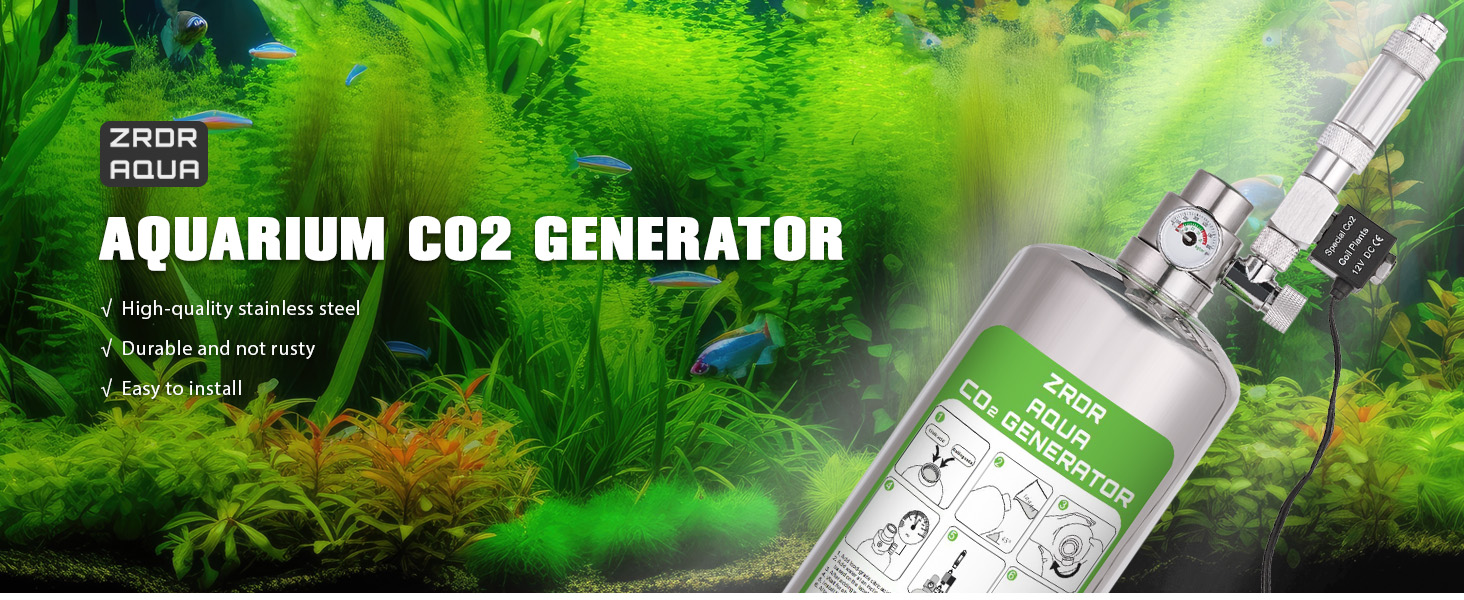
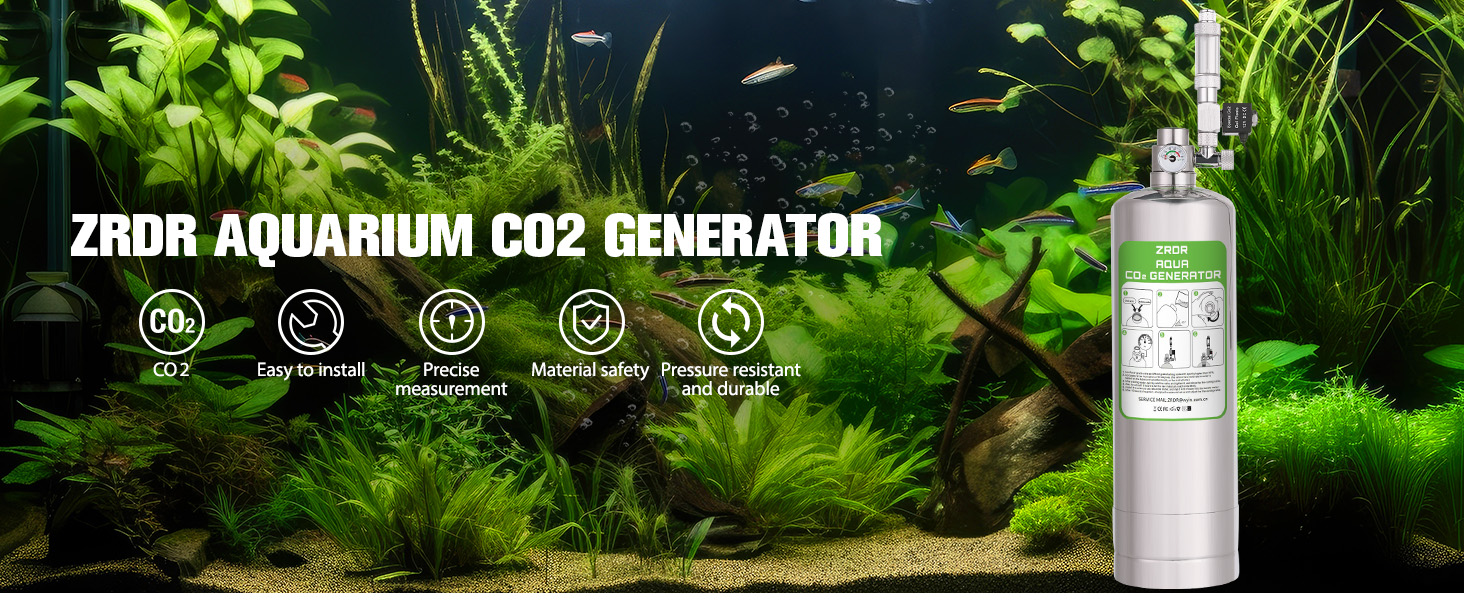
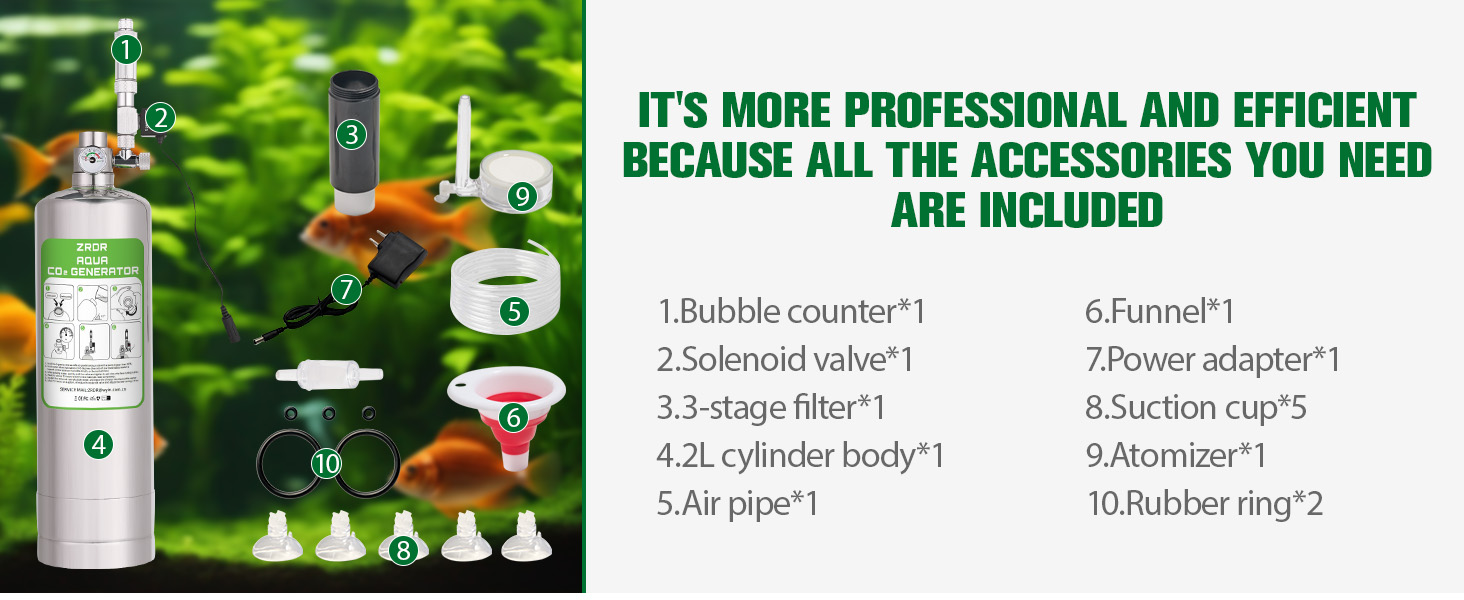
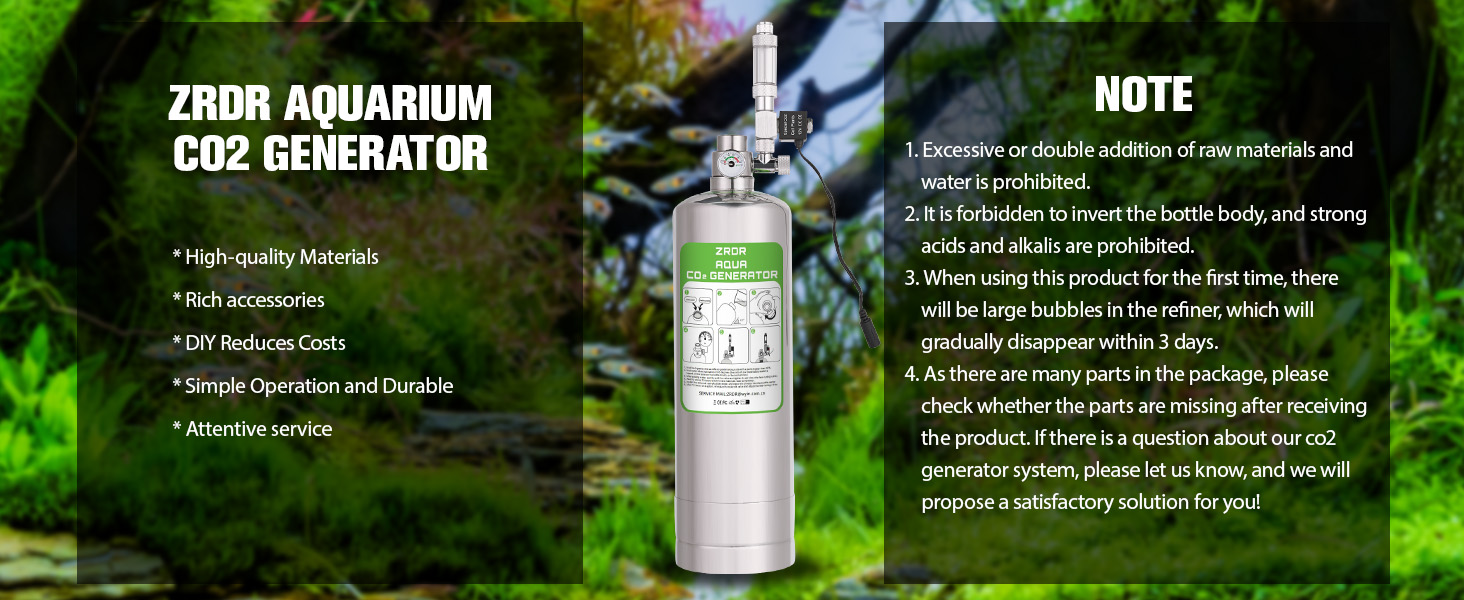
The ZRDR 2L CO2 Generator System is a professional-grade aquarium accessory crafted from durable 304 stainless steel. It features an automatic pressure relief valve for safety, a precision atomizer for refined CO2 bubble diffusion, and a waterproof 12V solenoid valve to prevent leaks. Designed for cost efficiency, it uses common household ingredients to generate CO2, making it an eco-friendly and budget-conscious choice. The complete kit includes all necessary components and tools for easy installation, ensuring your aquatic plants thrive with stable and optimized CO2 output.
| Item Weight | 300 Grams |
| Liquid Volume | 2 Liters |
| Target Species | Fish |
| Item Form | Bottle |
Trustpilot
3 days ago
2 days ago