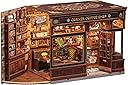
Desertcart purchases this item on your behalf and handles shipping, customs, and support to USA.
✨ Light up your shelf with creativity and charm! 🛠️
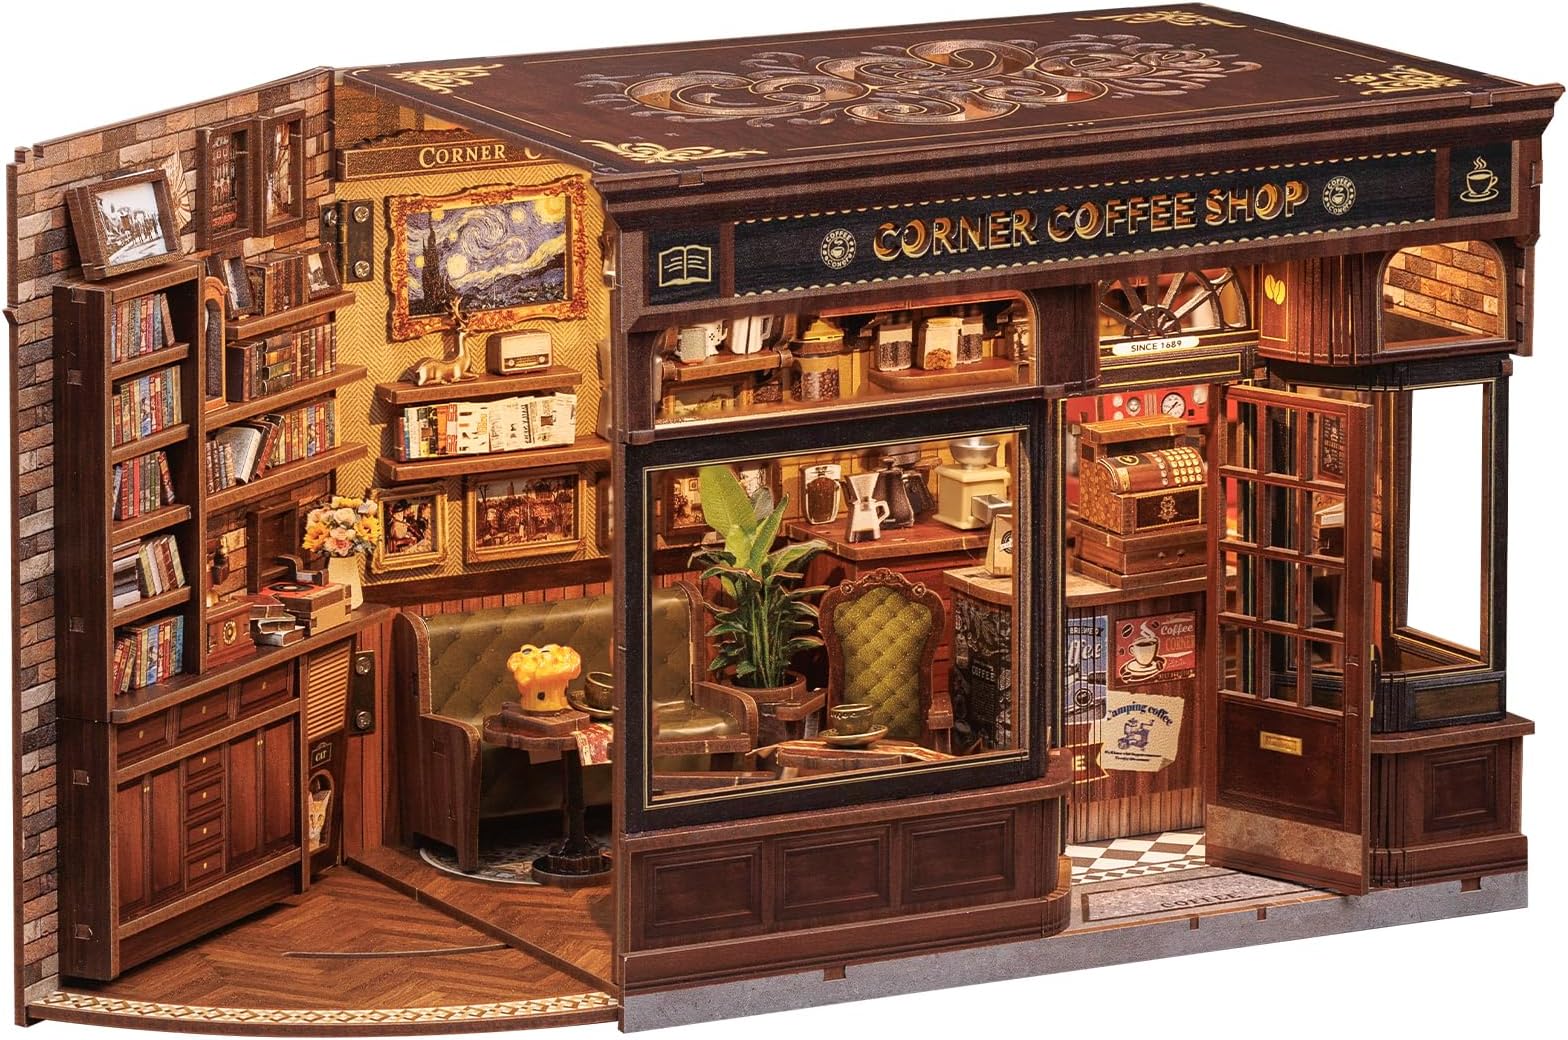
The CUTEBEE Book Nook Kit is a high-quality, laser-cut wooden 3D puzzle designed for ages 14+. It features pre-colored pieces for easy assembly, warm LED lighting for a cozy ambiance, and a customizable miniature scene perfect for bookshelf décor or gifting. This beginner-friendly kit combines craftsmanship with creativity, making it a top-rated choice for hobbyists and craft lovers alike.


| ASIN | B0DZXHJJXS |
| Age Range Description | 14+ |
| Best Sellers Rank | #4,749 in Toys & Games ( See Top 100 in Toys & Games ) #7 in Dollhouses (Toys & Games) |
| Brand Name | CUTEBEE |
| Color | Colorful |
| Customer Reviews | 4.6 out of 5 stars 323 Reviews |
| Included Components | wood, paper, paper accessories |
| Is Assembly Required | Yes |
| Item Dimensions | 5 x 2 x 10 inches |
| Item Dimensions L x W x H | 5"L x 2"W x 10"H |
| Manufacturer | CUTEBEE |
| Manufacturer Minimum Age (MONTHS) | 168 |
| Manufacturer Part Number | CUTEBEE |
| Material Type | Wood |
| Model Number | SD01-DC-SD02 |
| Size | One Size |
| Style | Corner Coffee Shop |
| Sub Brand | no |
| Theme | Fantasy |
L**6
Quick and easy kit - great for beginners
Easy to put together, very beginner friendly. I was able to complete it in about 3.5 hours. Most pieces went together snugly without needing glue. Some pieces do need glue (like on the walls) and I used Gorilla super glue gel for those. Instructions were fairly simple to follow. I really enjoy this brand and their products. Well put together kit and nice little details included in the book nook.
R**R
CUTBEE Book Nook is the best!
The CUTEBEE book nook is truly impressive, with well‑crafted pieces, clear instructions, and outstanding attention to detail. Every tiny feature—from the books to the lighting—blends perfectly to create a miniature scene that looks stunning on any shelf. The building process is relaxing and fun, offering just the right amount of detail to feel satisfying without ever being overwhelming, even for DIY beginners. The materials fit together seamlessly, and the finished piece could easily pass for something from a specialty store. Once completed, the warm LED lights bring the whole scene to life, making it cozy, eye‑catching, and a sure conversation starter. For anyone who loves crafts, miniatures, or unique décor, this kit is absolutely worth it. Highly recommended.
C**A
A huge step above puzzles!
We used to put a puzzle together every Christmas Eve but they were getting old. Now, we have discovered Book Nooks! I display this one in my library, between books. Beautiful! I received a Christmas one that I only bring out for the holidays; it has Santa on the roof. Our littlest kids can't put them together but they found puzzles too difficult as well. Ages 12 and up should be able to complete them with very little help but our whole family has found them delightful and entertaining. A great gift! Our family has several by now. The pieces come apart easily. We use Elmers Wood Glue only because it comes in a larger, more accessable container. The directions are simple and the quality is more than you would expect for the price. I'm delighted that some of them (all we have bought so far) have a motion activated light inside.
K**U
Great details and aesthetic appeal!
This was my very first attempt with a book nook. I wasn't familiar with any of them until last month and have found a delightful new hobby. It's relaxing in the sense I don't have to cut or stitch anything like my other crafts. After browsing around more, I'm so relieved I began with this CUTEBEE kit because I have found I like their 'sealed' printed surface designs far better than paper-glued surfaces of other kits out there (I ended up returning one after realizing how much better this Corner Coffee Shop design has printed panels). Sellers don't typically mention whether surfaces are printed or papered, unfortunately. I was not in a hurry to build this and found it to be quiet project where my mind can still wander while building. The details printed on these surfaces are amazingly clear, even down to the miniscule lettering of the menu board which I can actually read legibly. The laser cut pieces all snapped out without issue, especially with the small wood punch tools they give you for skimpier pieces. I also like the detailed stickers for the books, though I did put some paper bits behind the sticker table runners where they extend over the edge ... didn't like the idea of a sticker piece that could collect dust or eventually get stuck to itself or curl outward, etc. I used craft glue in a number of places where the fit seemed a bit looser (and on most of the walls where they attach to the base. The "snap" of snugging pieces together was a reassuring sound where no glue was needed. The hardest part of this build (and the reason for one star deduction), were the lack of details on how to attach the windows, as well as their sequence of assembly. I ended up improvising on what made better building sense to me. This kit has many windows, the curved one being a challenge. After attaching them with a PVC glue (none was included in the kit), the glue did not hold properly so I took them all off and cleaned up the residue to rethink the process. This is where a good sealed printed wood surface is far more forgiving than a simple paper glued surface for walls, floors, etc. I ended up using 3M double-sided tape. I cut a piece of tape measured long enough to match the longest edge of one window, laid it carefully a scant 1/8" onto the widow edge, and then trimmed off the excess with small sharp scissors alongside the widow;s edge. The remainder of that cut tape piece would then be applied along the next longest edge of the same window, the excess trimmed off the same way. With the 1/2" wide 3M tape, I was able to use one cut length to rim all 4 edges of the one window, being careful not to lay any tape pieces or taped surfaces down where lint or dust would get attached (though dry fingertip skin sometimes get pulled onto the tape ... need to find suitable gloves for this purpose). These pre-taped windows were easy to press onto the walls, and then I used a pair of plastic tweezers to rub along the inside framed edges for a firmer bond. I'm sure there is a good non-messy glue out there that could be used instead, but I wanted to try the tape because I already had some. The finished result was neat and tidy, so long as the tape didn't show beyond the open window frames. As for the curved window, that was a bit of a nightmare until I realized I could use a hair dryer to heat-set the pvc plastic to follow the curve. After taping the window in place, I pushed from the outer wall edge to get the plastic to lean more into the curves and then used a couple of small metal pinch clips to keep it in place while heating the plastic. The blowing air pressure from the hair dryer also worked to keep the window in against it's rounded position. I probably spent about 45-60 seconds keeping the hair dryer nozzle about 8" away from the surface so it wouldn't melt anything. Once cooled, that window is now permanently set to shape and holds in place nicely. I put the 2nd window on that panel AFTER the curved one was done. As for the cutout rooftop, I attached multiple small pieces of 3M tape to the backside of the wood scrolling before placing the ceiling window on to make it more secure when dusting all those outer crevices with a soft brush. The directions for the lights were easy to follow, and I like that there are 3 of them. The touch sensor is in a convenient place and has worked flawlessly with one gentle touch to turn on or off. I'm so happy I chose this as my first kit, and while not considered beginner friendly to some, with patience and care it is a beautiful finished piece. I love walking past the shop displayed, switching the light on and off again before walking away. This kit has set the bar for my future kit purchases pretty high from the beginning. The quality of this coffee shop build and intricate design details will keep me coming back to consider more from this company line.
N**I
LOVE MY COFFEE SHOP!
This was the fourth CUTEBEE book nook kit I’ve assembled. I began with a beginner kit and increased the difficulty level with each new kit. This one is a level four. This kit went together well until I got to the wiring. According to the instructions, there were four sets of wires to connect. My kit had five and the instructions were not clear as to which set went where. I was stumped, beyond frustrated! My grandson looked at it and agreed there was a discrepancy between the kit and the instructions. With a little improvising, he was able to get the wiring connected and my coffee shop now has lights! Next I will be assembling a kit to give as a gift. It’s a level two difficulty which I expect to zip through. It will likely be quite some time before I attempt a level four again.
T**B
Almost perfect.
Instructions are fairily clear but not a lot of explanations in writing, especially for the lights and touch pad installation. The parts fit well and I loved putting it together. The hardest part is attaching the plastic windows especially the curved one.. I used superglue which got messy at times. A water soluable glue will not work. It really looks good in a dim room with lights on. I have it next to other book nooks to create a street scene of shops. It's fun and relativelivly easy to assemble but there was a time or two I wish I had a third hand. LOL Recommended
B**E
A Fun Build
This was a fun build. Very easy to follow the directions and was pretty once finished, which only took a couple of hours. If you want something easy and fast to help you getting better in your craft then this one is for you. You wont be disappointed.
L**N
Fun to create and beautiful display
I love this! My son just bought me another and I can’t wait to do it. I’m a hobby person and this is one of my new favorites. As long as you follow the directions and go step by step, you should have no problem. Looks amazing when it’s done.
Trustpilot
3 days ago
1 week ago