Description
📻 Light up your soundscape — build, tune, and vibe in style!
- MASTER YOUR CRAFT - A hands-on DIY soldering kit designed to sharpen your electronics skills while building a fully functional FM radio.
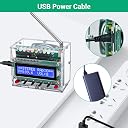
- PLUG PLAY POWER - Powered by a standard 5V DC source with USB connectivity, ensuring easy setup and compatibility.
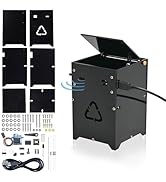
- SHOW OFF YOUR BUILD - Sleek transparent acrylic case showcases your handiwork, making it a perfect gift that’s both stylish and durable.
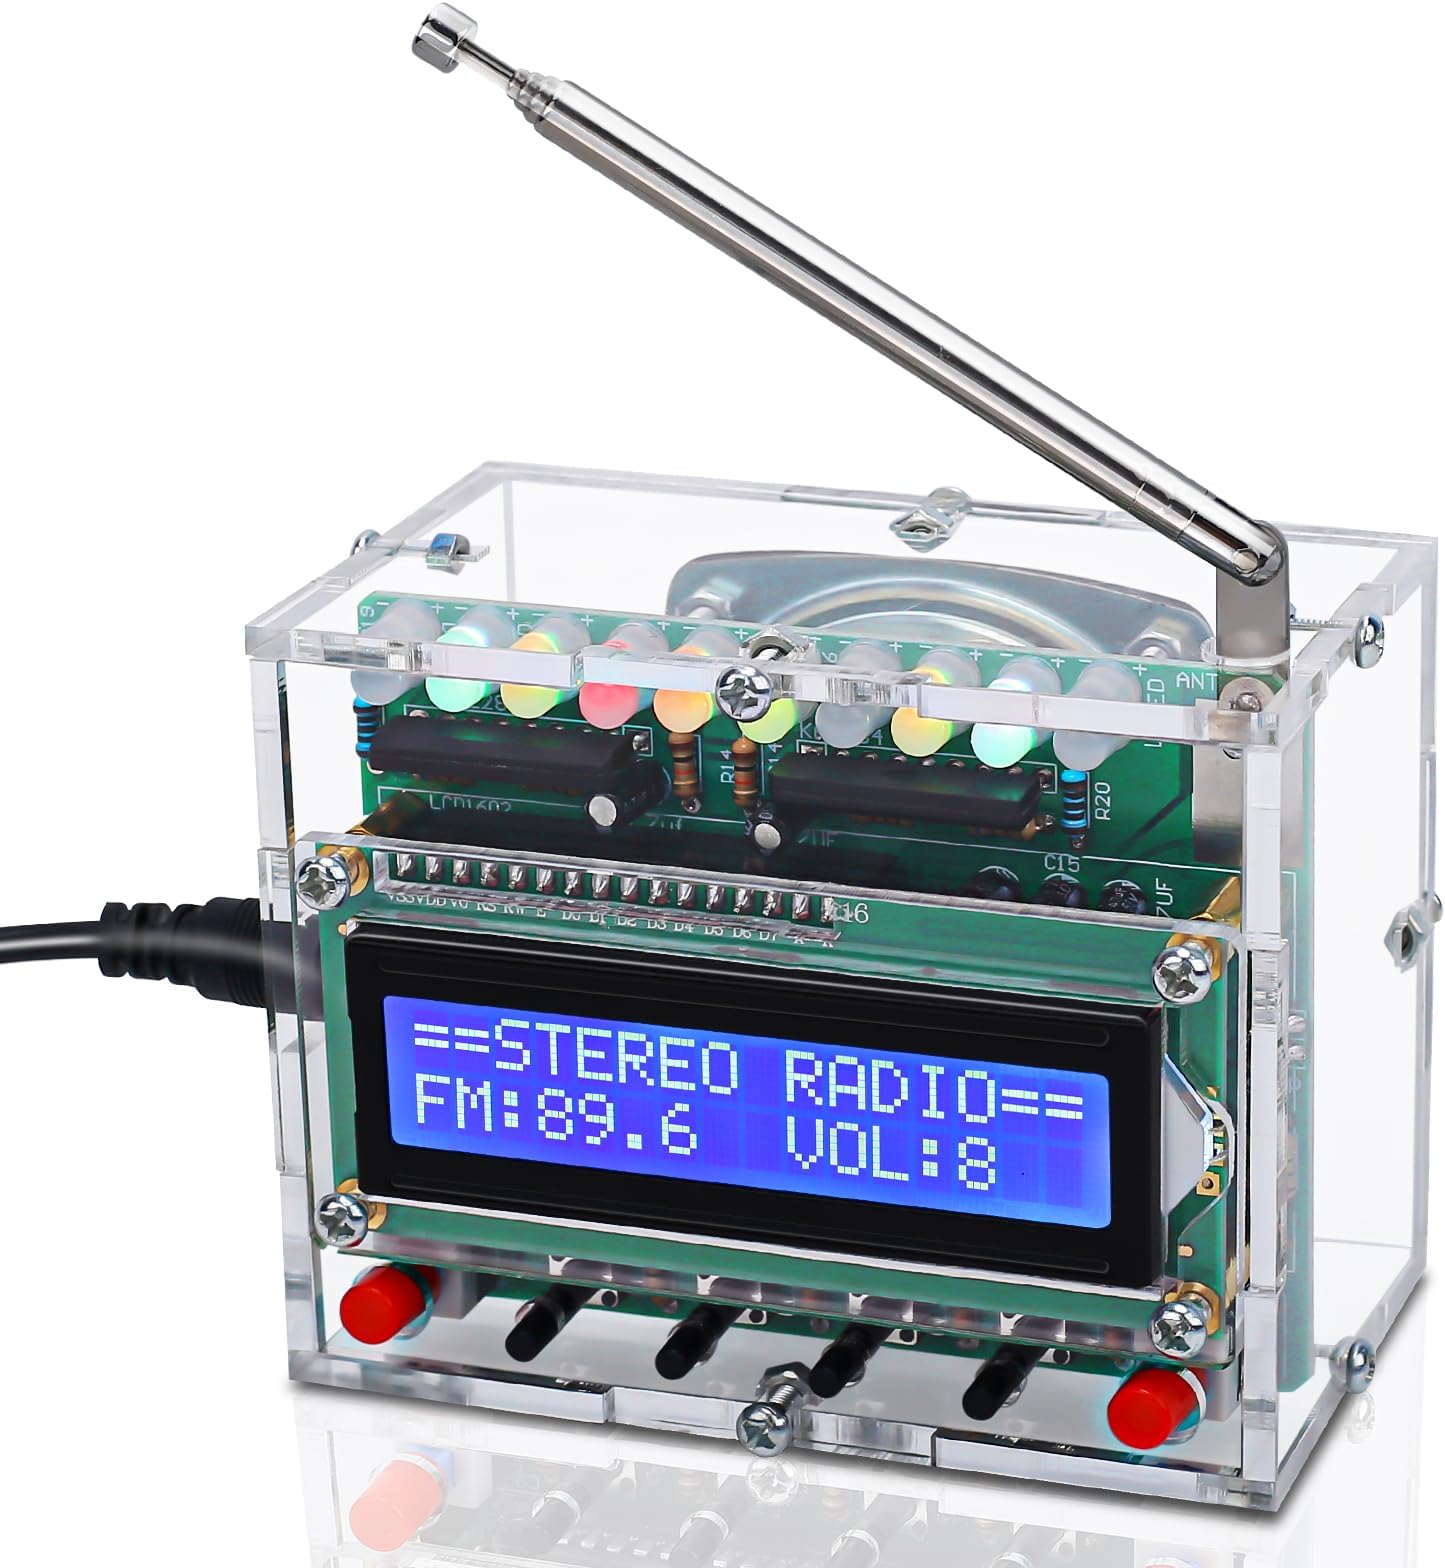
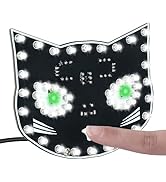
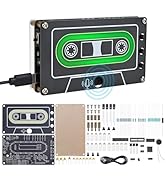
- VISUALIZE YOUR VIBES - 10 vibrant LED lights pulse in sync with your music, turning every listen into a mini light show.
- PRECISION AT YOUR FINGERTIPS - High-definition LCD1602 screen lets you easily tune frequencies and adjust volume with intuitive controls.
The ICSTATION FM Radio Kit is a DIY soldering project featuring a 87-108MHz FM tuner, a crisp LCD1602 display for easy frequency and volume control, and 10 colorful LED lights that pulse with your music. Designed for electronics enthusiasts and learners, it comes in a transparent acrylic case and runs on 5V DC power via USB, making it a perfect blend of education, creativity, and stylish functionality.