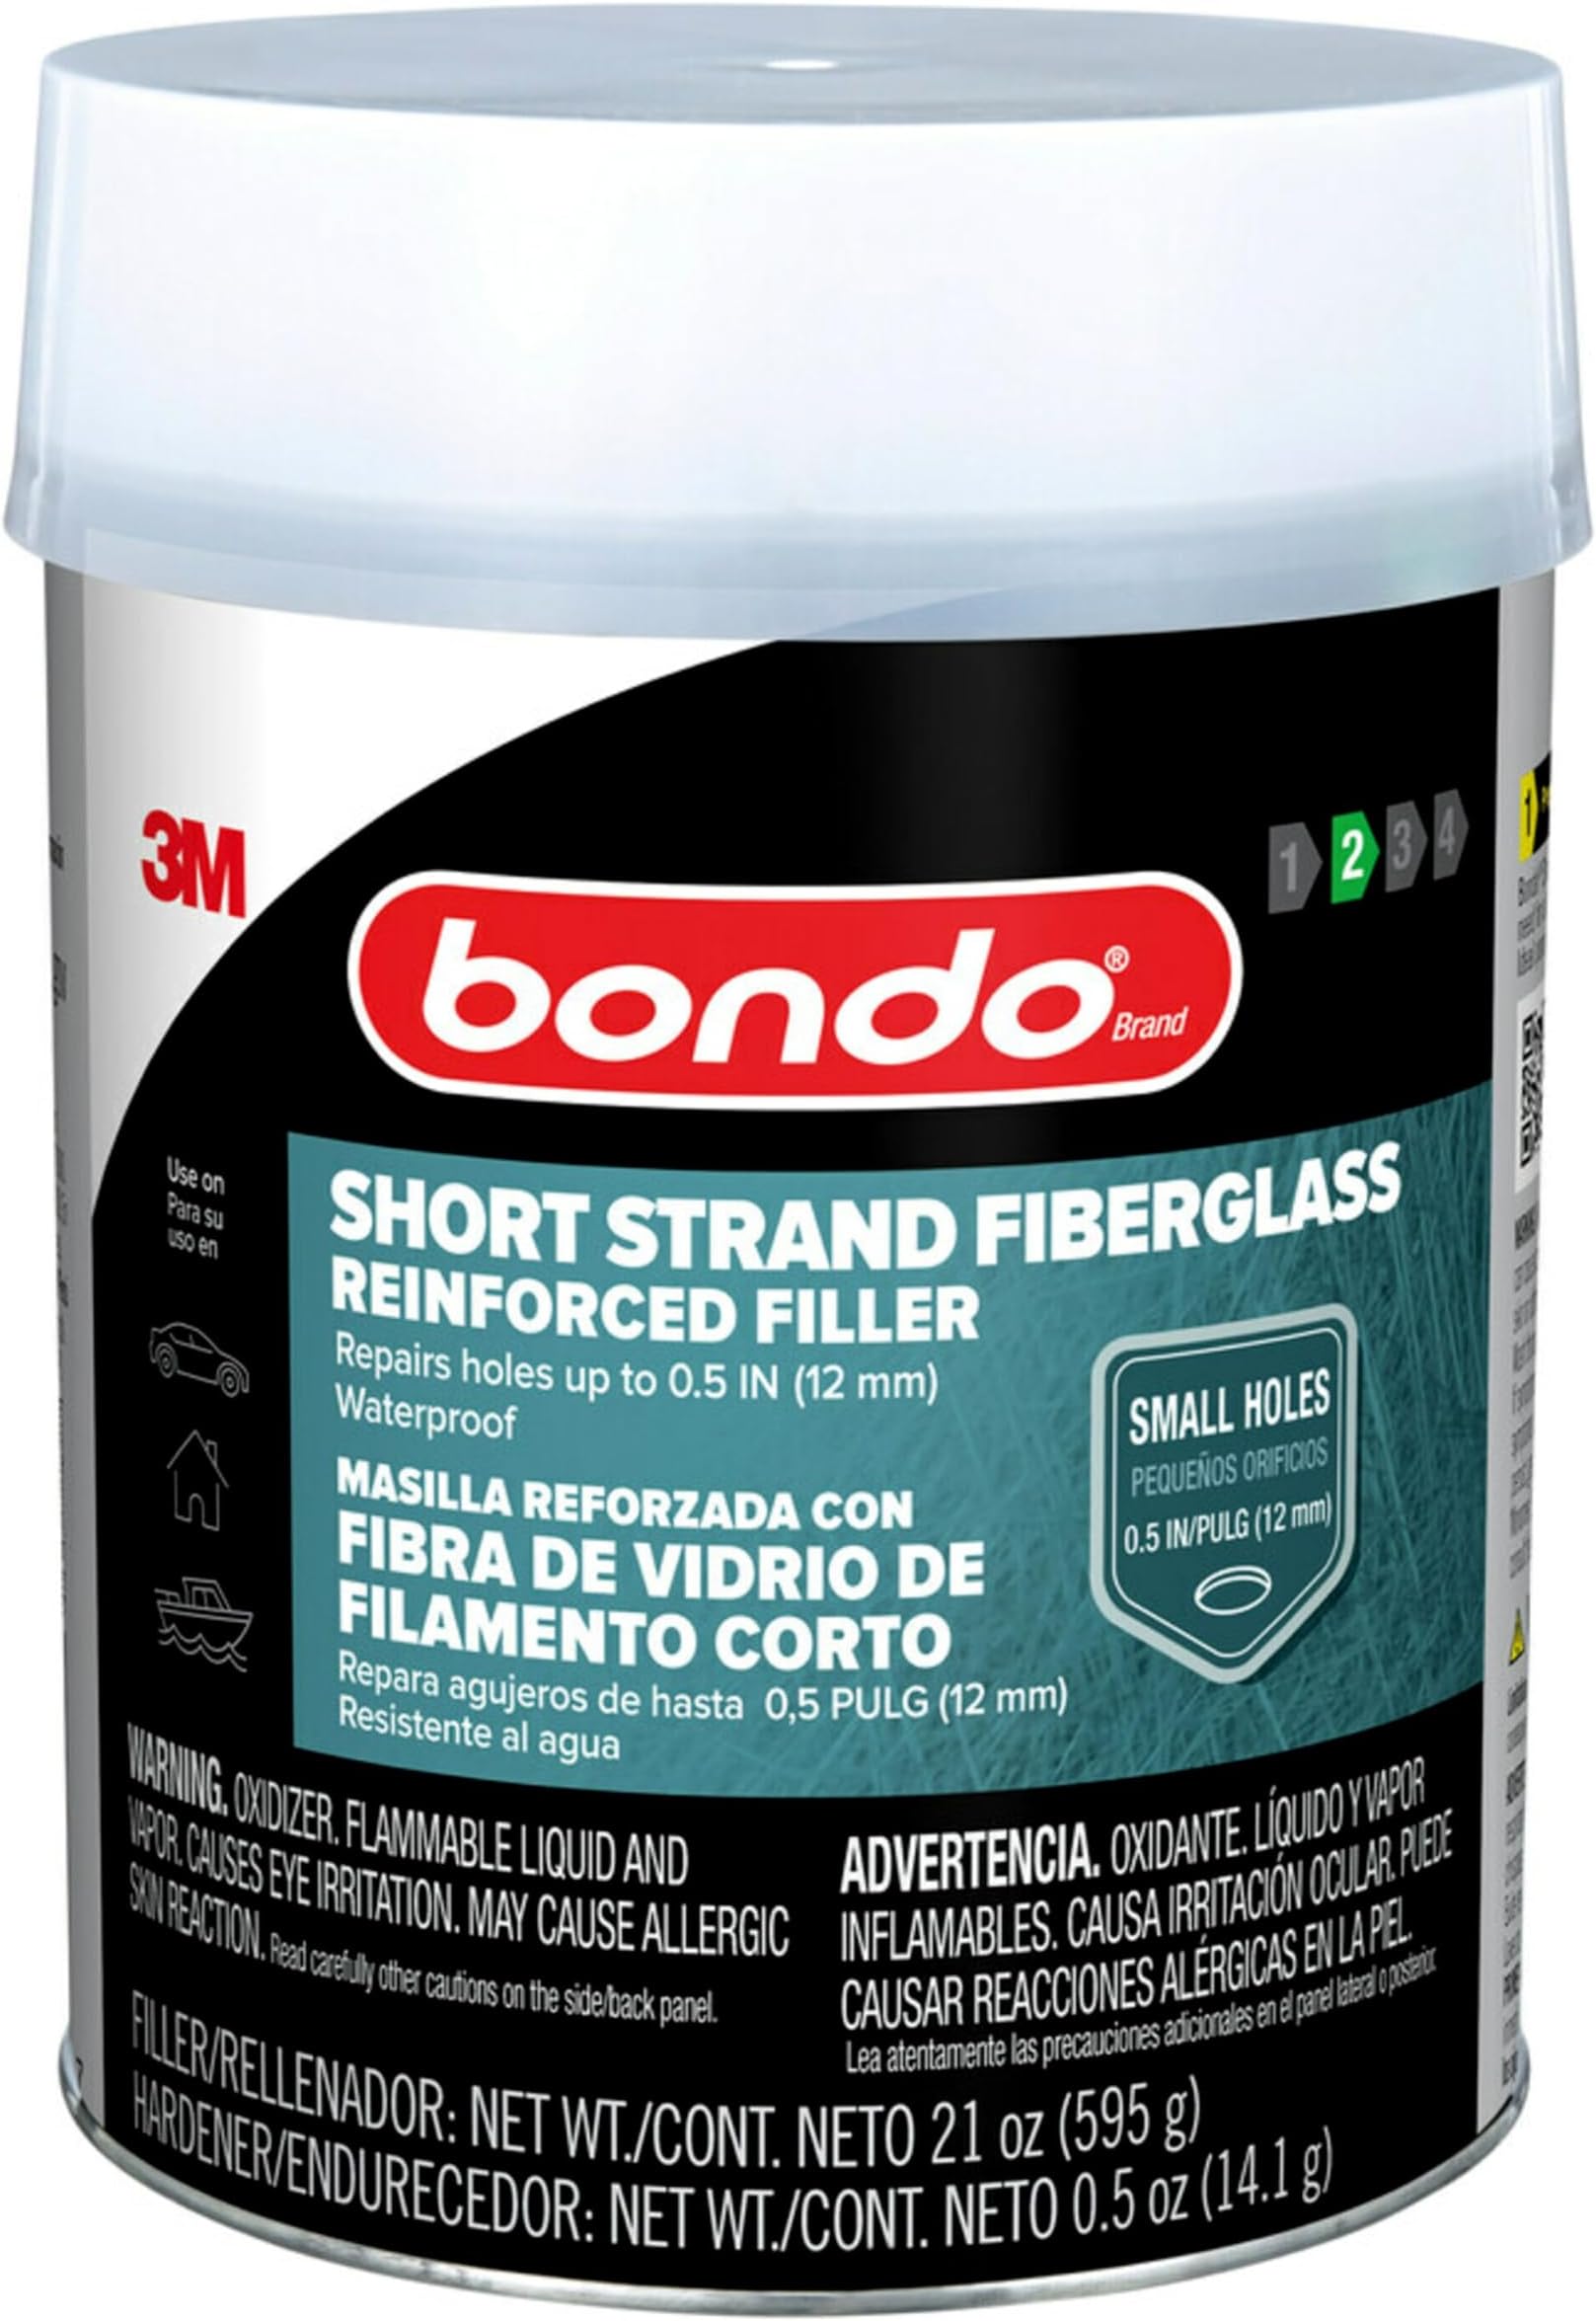


Bondo 00277 Glass Reinforced Filler - 1.37 lb.
Product ID: 295499557
Details
- Brandbondo
- Finish TypeGloss
- Item Volume0.5 Fluid
- Paint Typeglass
- Specific Uses For ProductGlass
Desertcart purchases this item on your behalf and handles shipping, customs, and support to USA.
Review: Let me save you some time... Read before you buy!! - EXTREMELY IMPORTANT DISCLAIMER AT THE BOTTOM‼️‼️ Here's review though, specifically for auto repairs, but also some general bondo advice. I used 3M Bondo Short Strand Fiberglass Reinforced Filler to fix a large rust spot on my car, and let me tell you, if you do it right, this stuff is ridiculously strong. Once it’s cured, it’s as solid as, if not stronger than, the original sheet metal. My goal was to create a structurally sound, paintable surface after getting rid of the rust, and this filler absolutely delivered. But here’s the deal: if you don’t mix it right, you’re in for a frustrating time. Let me save you some trouble. Step 1: The Strength is No Joke Once this sets, it’s like welding new metal onto your car. It doesn’t crack, doesn’t shrink, and it bonds extremely well. I was working in cold weather, and it still dried in 15-30 minutes, ready to sand. That’s impressive, considering most fillers struggle in lower temps. If you’re patching a rust hole like I was, get rid of ALL the weak metal (smack with hammer, sand, and again, sand some more). This filler is strong, but it’s not magic, if you slap it on top of rust, the problem will come back. Prep and treat the rust surface properly, and this stuff will hold like a champ. (I used POR-15 and a rubberized undercoating, which I also have under reviewed under my profile if you want the best of the best like I did lol. Cheaper spray rust neutralizers and preventers are available though, you don't need this necessarily.) Step 2: The Hardener Ratio is Where Most People Mess Up This is the part you NEED to get right. The included cream hardener is a little stingy for the amount of filler in the can, and if you don’t use the right amount, things get annoying fast: • Too little? It takes forever to cure, and you’ll be stuck waiting hours instead of minutes. • Too much? It’ll set before you can spread it properly, and you’ll be fighting against a rock-hard mess. This is really bad if you put it on whatever you're working on but can't work with it and it's stuck on your surface. Here’s What Actually Works: • Use slightly more hardener than the directions say. Not a crazy amount, just a small increase. • Mix FAST until the color is completely uniform. No streaks, no swirls, just one consistent shade. • Once mixed, IMMEDIATELY spread it out into a thin layer on your mixing surface (I used cardboard). Why? It cures through an exothermic reaction, basically, heat makes it set. If you leave it in a thick pile, it heats up too quickly and hardens before you can work with it. By spreading it thin, it cures more evenly and gives you time to apply it. (Even if you're not using this for cars, this is still a good practice with any fillers). Step 3: Sanding & Making It Paint-Ready After curing, this filler sands beautifully, assuming you applied it evenly. If you messed up the mix, you’ll either have rock-hard clumps or a weird gummy texture that won’t sand properly. Get the ratio right, and it smooths out great. That said, this is a structural filler, so don’t expect a perfectly smooth surface right away. To get it paint-ready, you’ll need: ✅ A lightweight filler – This smooths out any imperfections and evens out the surface. ✅ Spot putty – This is the finishing touch for getting it perfectly smooth and one last high grit sand paper sand, before priming and painting. I actually reviewed the lightweight filler and spot putty I used, and they worked perfectly as the top layer on top of the strong foundation this fiberglass filler provided. (again under my profile if you want liked my result and want what I used) If you’re doing bodywork, this combo is the way to go, fiberglass for strength, lightweight filler for smoothness, and spot putty for perfection. What I’d Change? Just Give Us More Hardener. Seriously, for the amount of filler in the can, they should include more cream hardener. If you don’t ration it right, you’ll run out before using all the filler, which is annoying. Just something to be aware of. Honestly just buy yourself a tube of cream hardener, unless you think you're only going to use a little bit of bondo. Final Verdict: Absolutely Worth It- If You Follow These Steps! You be the judge though, I've never done anything like this project, just have some good knowledge and have used bondo before. I think it turned out okay! • Strength: 10/10 – Feels like actual metal when cured. • Drying Time: 9/10 – Fast, even in cold weather. • Ease of Use: 7/10 – There’s a learning curve with the hardener ratio. • Paint Prep: 8/10 – Needs lightweight filler and spot putty for a flawless finish. • Value: 8/10 – Great, but they should include more hardener. If you’re fixing rust, follow these steps, and this filler will hold up like a champ. If you wing it, you’re gonna have a bad time. Save yourself the hassle and get the mix right from the start, as well as everything else you'll need for a repair like this! I reviewed everything else I used because I spent way too long researching everything I would need, and didn't find many reviews that gave me assurance or helpful info about each, I was kind of on my own. I'm still working on the reviews, but pretty soon they'll all be there if you click on my account. ‼️DISCLAIMER: This stuff releases an ungodly amount of fumes for a LONG time. If you are working in an indoor area, even with decent ventilation, you absolutely NEED to wear a respirator. I know I hyped this stuff up, but you can seriously damage your body messing around with this stuff without the proper gear. Even if you are outside, it's still best practice to wear one. Since Bondo is applied in thicker coats, it can release 3-5x more VOC content (deadly fumes) than spray paint does, this is like serious stuff. Not only that it releases fumes for a LOT longer. Wear a respirator, no joke.‼️ Review: Handy repair kit for small holes - Moving around with this on hand has been pretty useful. i used it to fix a few minor cracks in the wall during some renovation work and it worked well. The mixture is easy to apply and dries fairly quickly, saving me time. The waterproof feature is a bonus since i don’t have to worry about moisture later on. overall, it’s a handy little kit that gets the job done without any hassle.


| ASIN | B00PB3NTFO |
| Age Range Description | Adult |
| Brand | bondo |
| Brand Name | bondo |
| Color Code | FFFFFF |
| Container Type | Tin |
| Country of Origin | USA |
| Coverage | Medium |
| Customer Reviews | 4.6 out of 5 stars 1,473 Reviews |
| Finish Type | Gloss |
| Global Trade Identification Number | 00051131002777, 50051131002772 |
| Is Waterproof | True |
| Item Form | Gel |
| Item Volume | 0.5 Fluid Ounces |
| Item Weight | 544 g |
| Manufacturer | 0 |
| Model Number | 277 |
| Paint Type | glass |
| Part Number | SS-PT-ES |
| Specific Uses For Product | Glass |
| Surface Recommendation | Glass |
| UPC | 051131002777 |
| Water Resistance Level | Waterproof |
H**R
Let me save you some time... Read before you buy!!
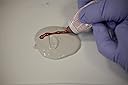
EXTREMELY IMPORTANT DISCLAIMER AT THE BOTTOM‼️‼️ Here's review though, specifically for auto repairs, but also some general bondo advice. I used 3M Bondo Short Strand Fiberglass Reinforced Filler to fix a large rust spot on my car, and let me tell you, if you do it right, this stuff is ridiculously strong. Once it’s cured, it’s as solid as, if not stronger than, the original sheet metal. My goal was to create a structurally sound, paintable surface after getting rid of the rust, and this filler absolutely delivered. But here’s the deal: if you don’t mix it right, you’re in for a frustrating time. Let me save you some trouble. Step 1: The Strength is No Joke Once this sets, it’s like welding new metal onto your car. It doesn’t crack, doesn’t shrink, and it bonds extremely well. I was working in cold weather, and it still dried in 15-30 minutes, ready to sand. That’s impressive, considering most fillers struggle in lower temps. If you’re patching a rust hole like I was, get rid of ALL the weak metal (smack with hammer, sand, and again, sand some more). This filler is strong, but it’s not magic, if you slap it on top of rust, the problem will come back. Prep and treat the rust surface properly, and this stuff will hold like a champ. (I used POR-15 and a rubberized undercoating, which I also have under reviewed under my profile if you want the best of the best like I did lol. Cheaper spray rust neutralizers and preventers are available though, you don't need this necessarily.) Step 2: The Hardener Ratio is Where Most People Mess Up This is the part you NEED to get right. The included cream hardener is a little stingy for the amount of filler in the can, and if you don’t use the right amount, things get annoying fast: • Too little? It takes forever to cure, and you’ll be stuck waiting hours instead of minutes. • Too much? It’ll set before you can spread it properly, and you’ll be fighting against a rock-hard mess. This is really bad if you put it on whatever you're working on but can't work with it and it's stuck on your surface. Here’s What Actually Works: • Use slightly more hardener than the directions say. Not a crazy amount, just a small increase. • Mix FAST until the color is completely uniform. No streaks, no swirls, just one consistent shade. • Once mixed, IMMEDIATELY spread it out into a thin layer on your mixing surface (I used cardboard). Why? It cures through an exothermic reaction, basically, heat makes it set. If you leave it in a thick pile, it heats up too quickly and hardens before you can work with it. By spreading it thin, it cures more evenly and gives you time to apply it. (Even if you're not using this for cars, this is still a good practice with any fillers). Step 3: Sanding & Making It Paint-Ready After curing, this filler sands beautifully, assuming you applied it evenly. If you messed up the mix, you’ll either have rock-hard clumps or a weird gummy texture that won’t sand properly. Get the ratio right, and it smooths out great. That said, this is a structural filler, so don’t expect a perfectly smooth surface right away. To get it paint-ready, you’ll need: ✅ A lightweight filler – This smooths out any imperfections and evens out the surface. ✅ Spot putty – This is the finishing touch for getting it perfectly smooth and one last high grit sand paper sand, before priming and painting. I actually reviewed the lightweight filler and spot putty I used, and they worked perfectly as the top layer on top of the strong foundation this fiberglass filler provided. (again under my profile if you want liked my result and want what I used) If you’re doing bodywork, this combo is the way to go, fiberglass for strength, lightweight filler for smoothness, and spot putty for perfection. What I’d Change? Just Give Us More Hardener. Seriously, for the amount of filler in the can, they should include more cream hardener. If you don’t ration it right, you’ll run out before using all the filler, which is annoying. Just something to be aware of. Honestly just buy yourself a tube of cream hardener, unless you think you're only going to use a little bit of bondo. Final Verdict: Absolutely Worth It- If You Follow These Steps! You be the judge though, I've never done anything like this project, just have some good knowledge and have used bondo before. I think it turned out okay! • Strength: 10/10 – Feels like actual metal when cured. • Drying Time: 9/10 – Fast, even in cold weather. • Ease of Use: 7/10 – There’s a learning curve with the hardener ratio. • Paint Prep: 8/10 – Needs lightweight filler and spot putty for a flawless finish. • Value: 8/10 – Great, but they should include more hardener. If you’re fixing rust, follow these steps, and this filler will hold up like a champ. If you wing it, you’re gonna have a bad time. Save yourself the hassle and get the mix right from the start, as well as everything else you'll need for a repair like this! I reviewed everything else I used because I spent way too long researching everything I would need, and didn't find many reviews that gave me assurance or helpful info about each, I was kind of on my own. I'm still working on the reviews, but pretty soon they'll all be there if you click on my account. ‼️DISCLAIMER: This stuff releases an ungodly amount of fumes for a LONG time. If you are working in an indoor area, even with decent ventilation, you absolutely NEED to wear a respirator. I know I hyped this stuff up, but you can seriously damage your body messing around with this stuff without the proper gear. Even if you are outside, it's still best practice to wear one. Since Bondo is applied in thicker coats, it can release 3-5x more VOC content (deadly fumes) than spray paint does, this is like serious stuff. Not only that it releases fumes for a LOT longer. Wear a respirator, no joke.‼️
M**R
Handy repair kit for small holes
Moving around with this on hand has been pretty useful. i used it to fix a few minor cracks in the wall during some renovation work and it worked well. The mixture is easy to apply and dries fairly quickly, saving me time. The waterproof feature is a bonus since i don’t have to worry about moisture later on. overall, it’s a handy little kit that gets the job done without any hassle.
C**K
Real deal
Great product. Does and is what it says it is! Highly recommended!
S**M
Works like a champion, but can be finicky.
Works like a champion, but can be finicky. I used it to fill in dents in my steel outside doors before repainting. Now the doors look like new. This product hasn't really changed over the years. Follow the instructions and you will be OK. One problem is that the amount of hardener is subjective so be careful and underestimate if you are uncertain. That will give you more time to apply and work it. Too much hardener and it will set up on you in just minutes.
A**R
Great buy
Worked great and lasting not falling apart. Was easy to put on areas I needed
Trustpilot
2 weeks ago
3 weeks ago